DIY Bathroom Wall Art Ideas: Forget sterile, soulless bathrooms! Prepare to unleash your inner artist and transform your bathroom into a spa-like sanctuary, a quirky masterpiece, or whatever whimsical wonderland your heart desires. We’re diving headfirst into a world of budget-friendly brilliance, where recycled materials become breathtaking art, and ordinary mirrors morph into dazzling focal points. Get ready to ditch the boring and embrace the beautiful – because your bathroom deserves better than beige!
This guide is your passport to a bathroom makeover that won’t break the bank or require a degree in fine arts. We’ll explore everything from crafting stunning wall art using recycled treasures to mastering the art of mirror framing and creating captivating gallery walls. We’ll even reveal some seriously cool texturing techniques that go way beyond a simple lick of paint.
Prepare to be inspired, amazed, and maybe even a little bit giddy with creative possibilities!
DIY Bathroom Wall Art Ideas: Unleash Your Inner Artist (Without the Art School Debt!)
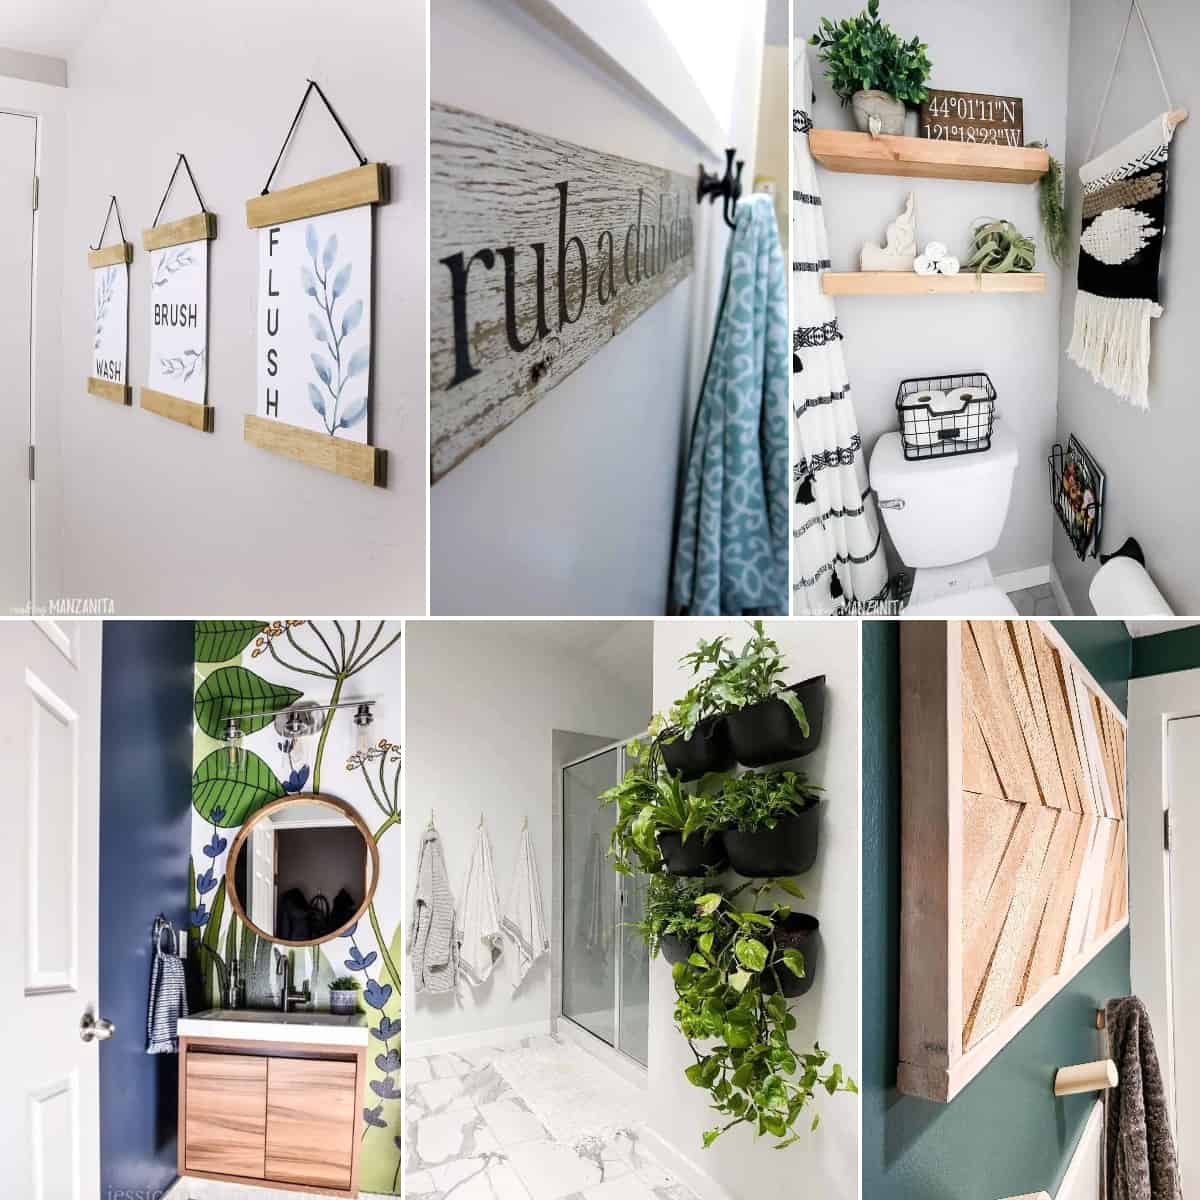
Transforming your bathroom from “blah” to “bam!” doesn’t require a hefty renovation budget or a degree in interior design. With a little creativity and these DIY projects, you can craft stunning wall art that reflects your personal style and adds a touch of whimsy to your daily routine. Get ready to ditch the generic and embrace the unique!
Budget-Friendly DIY Bathroom Wall Art
Who says stunning bathroom art has to break the bank? These three designs use recycled materials you likely already have lying around. Prepare to be amazed by what you can create from “trash”!
- Recycled Bottle Cap Mosaic: Imagine a vibrant mosaic crafted from colorful bottle caps! Gather various colored bottle caps, a sturdy backing (like a piece of plywood or a repurposed frame), strong adhesive, and grout. Clean the caps, arrange them on the backing to create your desired design, and adhere them securely. Once dry, grout the spaces between the caps for a polished finish.
Find out about how how to make a homemade costume can deliver the best answers for your issues.
The final piece will boast a unique, textured appeal, perfect for adding a pop of color to a minimalist or eclectic bathroom.
- Magazine Collage: Unleash your inner magpie! Collect pages from old magazines featuring vibrant colors, interesting textures, or patterns that complement your bathroom’s style. Cut out shapes, words, or images, and arrange them on a canvas or sturdy cardboard. Use a decoupage medium to adhere the magazine clippings and seal the collage for a durable, water-resistant finish. This technique is adaptable to any bathroom style, from rustic to modern, simply by choosing the right magazine imagery.
- Toilet Paper Roll Flowers: Don’t toss those empty toilet paper rolls! Cut them into rings of varying sizes, paint them in cheerful colors, and layer them to create whimsical flower shapes. Glue the flowers onto a canvas or a piece of wood, adding leaves cut from green construction paper or felt. This design is charming and unexpectedly sophisticated, particularly suited to a playful or bohemian bathroom.
| Design | Materials Cost | Time to Complete | Difficulty Level |
|---|---|---|---|
| Recycled Bottle Cap Mosaic | $0-5 (depending on grout) | 2-3 hours | Medium |
| Magazine Collage | $0-5 (depending on adhesive and sealant) | 1-2 hours | Easy |
| Toilet Paper Roll Flowers | $0-2 (depending on paint) | 1-2 hours | Easy |
Mirror Magic: DIY Framed Mirrors
A framed mirror isn’t just a functional necessity; it’s a statement piece. Elevate your bathroom’s style with these unique framing techniques.
- Reclaimed Wood Frame: Gather pieces of reclaimed wood (from pallets, old furniture, etc.), cut them to size to create a frame, and secure them together using wood glue and screws. Sand the frame smooth, and optionally stain or paint it to match your bathroom’s aesthetic. This rustic charm adds warmth and character, particularly in a farmhouse or bohemian bathroom.
- Painted Tile Frame: Use inexpensive ceramic tiles to create a geometric or mosaic frame. Arrange the tiles around the mirror, and use a strong adhesive to attach them to a backing board. Grout the spaces between the tiles for a polished look. This adds a pop of color and texture, perfect for modern or eclectic bathrooms.
- Mosaic Glass Frame: Broken pieces of glass (from old mirrors or purchased inexpensively) can be arranged to create a stunning mosaic frame. Use a strong adhesive to attach the glass pieces to a backing board, ensuring a secure bond. Grout the spaces for a finished look. This option offers a luxurious touch and is ideal for a glamorous or eclectic bathroom.
| Framing Technique | Materials | Tools | Steps |
|---|---|---|---|
| Reclaimed Wood | Reclaimed wood, wood glue, screws, sandpaper, stain/paint | Saw, drill, sander, paintbrushes | 1. Cut wood, 2. Assemble frame, 3. Sand, 4. Finish |
| Painted Tile | Ceramic tiles, adhesive, grout, backing board | Measuring tape, tile cutter (optional), trowel, sponge | 1. Arrange tiles, 2. Apply adhesive, 3. Grout, 4. Clean |
| Mosaic Glass | Broken glass, strong adhesive, grout, backing board | Gloves, safety glasses, adhesive applicator, trowel, sponge | 1. Arrange glass, 2. Apply adhesive, 3. Grout, 4. Clean |
Gallery Walls for the Bathroom, Diy bathroom wall art ideas
A gallery wall is a fantastic way to showcase multiple pieces of art and add personality to your bathroom. Here’s how to create a cohesive and visually appealing display.
- Arrangement 1: A mix of the bottle cap mosaic, a smaller magazine collage, and a framed mirror with a reclaimed wood frame. This arrangement provides a balance of textures and colors.
- Arrangement 2: Three framed mirrors with different framing techniques (reclaimed wood, painted tile, and mosaic glass) arranged in a symmetrical pattern. This creates a visually striking focal point.
- Arrangement 3: A collection of toilet paper roll flowers, a larger magazine collage, and a small canvas featuring pressed flowers. This provides a playful yet sophisticated look.
- Planning: Measure your wall space and determine the overall size and shape of your gallery wall.
- Layout: Arrange your artwork on the floor first to visualize the final arrangement. Consider size, color, and texture.
- Hanging: Use a level to ensure your artwork is straight and evenly spaced.
- Color Coordination: Choose a color palette that complements your bathroom’s existing decor.
Textured Wall Art: Beyond Paint
Move beyond paint and explore these unique texturing techniques to add depth and visual interest to your bathroom walls.
- Stenciled Concrete: Apply a concrete mixture to the wall using a stencil to create a unique pattern. This creates a modern industrial look, perfect for contemporary bathrooms.
- Pressed Leaf Impressions: Press various leaves and flowers into wet clay applied to the wall. Once dry, the impressions will create a natural, organic texture. This is perfect for a rustic or nature-inspired bathroom.
- Fabric Collage: Adhere textured fabrics to the wall using a strong adhesive. This allows for creative experimentation with patterns, colors, and textures. This approach is ideal for a bohemian or eclectic bathroom.
Nature-Inspired Bathroom Art
Bring the serenity of nature into your bathroom with these easy-to-create wall art pieces.
- Pressed Flower Frame: Arrange pressed flowers between two pieces of glass to create a delicate and elegant framed piece.
- Seashell Mosaic: Create a mosaic using seashells of various shapes and sizes, adhering them to a backing board with strong adhesive and grouting the spaces between them.
- Dried Plant Arrangement: Arrange dried plants and flowers in a decorative frame, creating a rustic and charming piece of wall art.
So there you have it – a whirlwind tour through the exciting world of DIY bathroom wall art! From repurposed materials to nature’s own masterpieces, the possibilities are as limitless as your imagination. Remember, the key is to have fun, experiment fearlessly, and most importantly, let your personal style shine through. Your newly adorned bathroom will be a testament to your creativity, a haven of self-expression, and a constant source of pride (and maybe a little envy from your houseguests!).
Go forth and create!
Helpful Answers: Diy Bathroom Wall Art Ideas
What kind of adhesive is best for attaching natural materials to the wall?
It depends on the material! For pressed flowers, a strong adhesive gel works well. For heavier items like shells, consider using a heavy-duty craft glue or even a small amount of epoxy for extra security.
How do I ensure my DIY bathroom wall art is waterproof?
Use sealant! A good quality sealant will protect your creations from moisture and extend their lifespan. Apply it after your artwork is complete and fully dry.
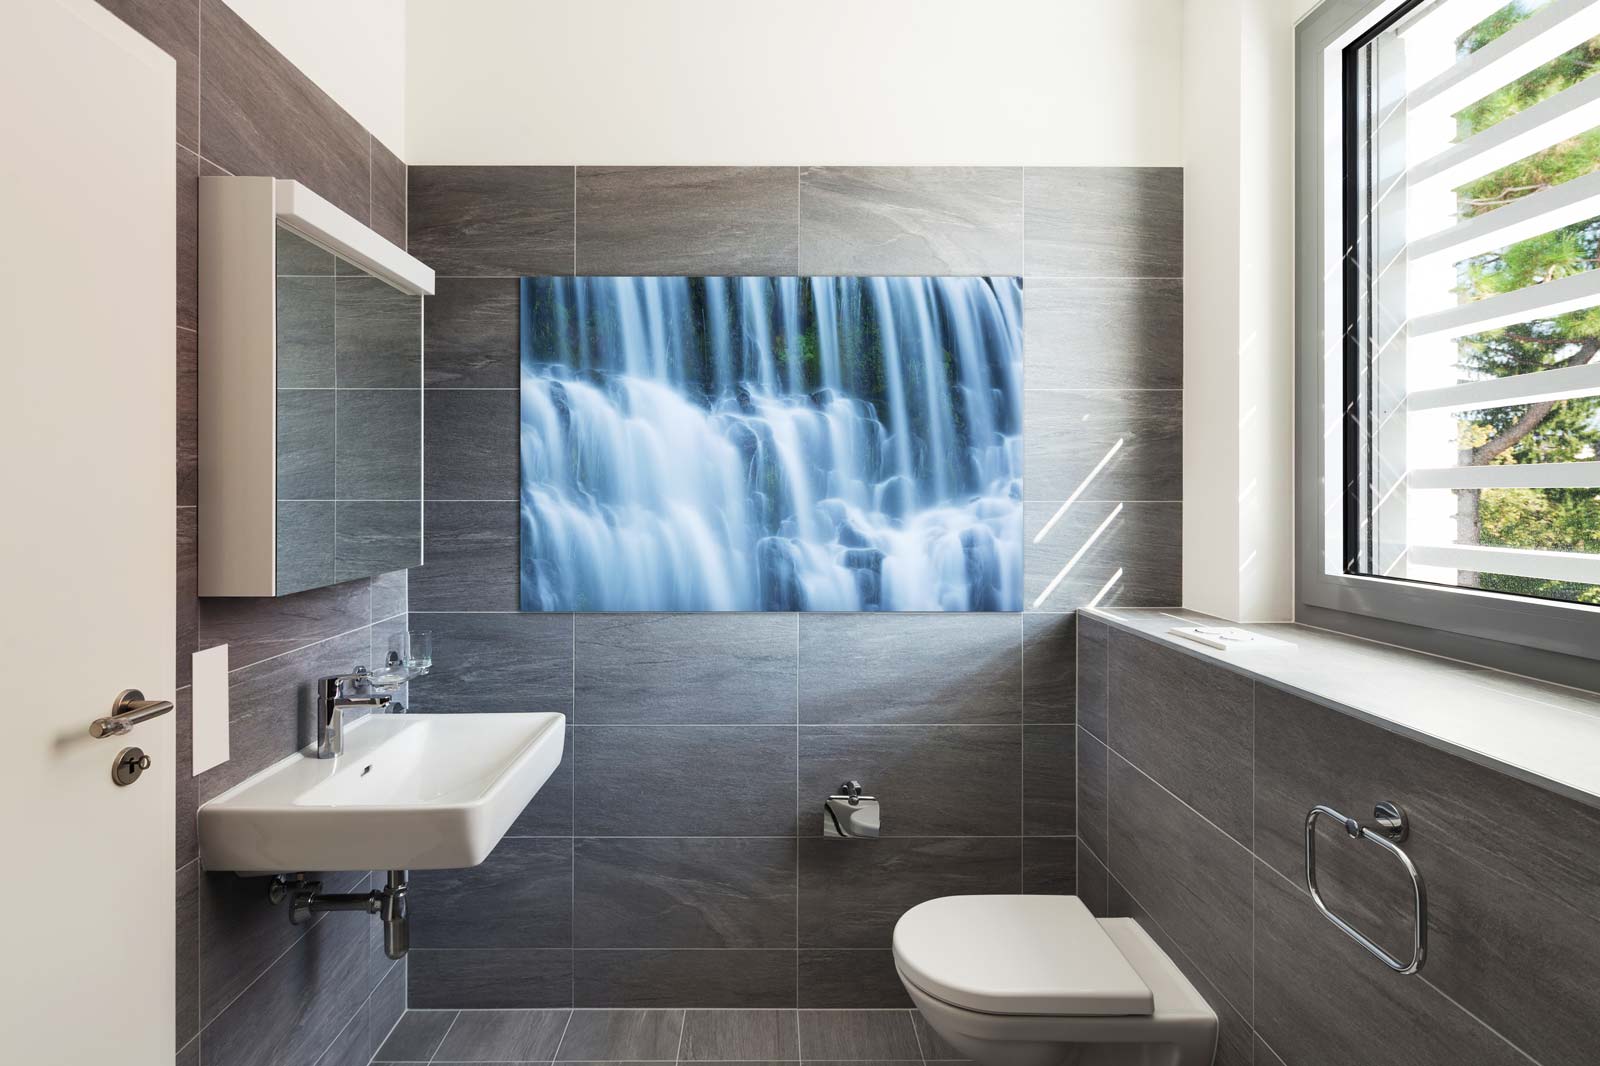
Can I use these ideas in a small bathroom?
Absolutely! Smaller spaces benefit from minimalist designs and strategically placed artwork. Focus on creating a sense of spaciousness with lighter colors and smaller, carefully curated pieces.
What if I’m not very crafty?
Don’t worry! Many of these projects are beginner-friendly. Start with a simple design and gradually increase the complexity as your confidence grows. The most important thing is to have fun and enjoy the process!