Art and craft ideas for home decoration with paper: unleash your inner artist and transform your abode into a whimsical wonderland! Forget boring beige walls – we’re diving headfirst into a world of paper flowers, quilled masterpieces, origami marvels, and shadow box spectacles. Prepare to be amazed by the sheer versatility of paper, as we unlock its potential for creating stunning home décor, from delicate paper blooms to bold, textured paper mache creations.
Get ready to roll up your sleeves, gather your supplies, and let your creativity run wild!
This guide provides step-by-step instructions and inspiring ideas for five exciting paper craft projects, perfect for adding a unique and personal touch to your living space. Whether you’re a seasoned crafter or a complete beginner, you’ll find projects to match your skill level and available time. We’ll explore different paper types, techniques, and decorative approaches, ensuring you have all the tools you need to create beautiful and functional artwork for your home.
Paper Crafting Extravaganza: Unleashing Your Inner Artist

Get ready to ditch the dust bunnies and embrace the delightful world of paper crafts! This isn’t your grandma’s paper dolls; we’re talking about transforming humble sheets of paper into stunning home décor that’ll have your friends saying, “Wow, did you
-really* make that?” From delicate paper flowers to intricate quilled masterpieces, we’ll explore a variety of techniques that are surprisingly simple (and ridiculously fun).
Paper Flower Decorations

Paper flowers offer a versatile and affordable way to add a touch of whimsy and elegance to your home. Their size and complexity can be tailored to any space, from a delicate centerpiece to a dramatic wall hanging. The possibilities are as boundless as your imagination (and your stash of paper!).
| Flower Design | Difficulty | Materials | Estimated Time |
|---|---|---|---|
| Simple Rose | Easy | Colored paper, scissors, glue | 15-20 minutes |
| Layered Dahlia | Medium | Various colored papers, scissors, glue, wire | 45-60 minutes |
| Intricate Orchid | Hard | Thin colored paper, scissors, glue, fine wire, tweezers | 2-3 hours |
| Paper Peony | Medium | Crepe paper, scissors, glue, wire | 1-1.5 hours |
| Simple Daisy | Easy | Construction paper, scissors, glue | 10-15 minutes |
Choosing the right paper is crucial. Heavier cardstock provides structure for larger blooms, while crepe paper offers a delicate, almost lifelike texture. Thin tissue paper lends itself to intricate designs, while construction paper is perfect for simpler projects. The final look will be heavily influenced by the paper’s weight, texture, and color.
Assembling your floral masterpiece is the final flourish! Wire can be used to create stems, and additional paper can be cut and shaped into leaves. For a wall hanging, consider using a sturdy backing and twine or ribbon for hanging. Centerpieces can be arranged in a vase or decorative bowl.
Paper Quilling Techniques for Home Décor
Paper quilling, the art of rolling and shaping paper strips, opens up a world of intricate designs. From delicate swirls to bold geometric patterns, quilling allows you to create stunning decorative elements. The key is patience and a steady hand (and maybe a magnifying glass!).
Creating basic quilling shapes is surprisingly simple. Start with tightly rolled spirals, then gently loosen them to create various forms. Imagine a tightly wound spring slowly unwinding – that’s the essence of quilling. Use a quilling tool to help maintain consistent tightness. For example, a heart is created by shaping two teardrop forms and joining them; a leaf can be made from a rolled coil, flattened and shaped; a spiral is the most basic form and requires simply rolling the paper strip.
Quilled designs can be incorporated into a variety of projects. Picture frames can be adorned with intricate borders, while wall art can showcase bold geometric patterns. Decorative boxes can be embellished with delicate floral designs, turning a simple container into a unique treasure chest. The choice of paper greatly impacts the final result. Thicker papers hold their shape better, while thinner papers allow for more delicate curves.
A decorative element, such as a quilled flower, could be made using several rolled coils of different colors, shaped into petals and layered to create depth. The coils can be glued together to form the flower, which can then be attached to a card or small frame. This requires colored paper, a quilling tool, and glue.
Origami for Home Decoration
Origami, the ancient art of paper folding, allows you to create elegant and intricate designs from a single sheet of paper. The process is both meditative and rewarding, and the results are stunning. The beauty of origami lies in its simplicity – the transformation from a flat sheet to a three-dimensional object is truly magical.
- Origami Crane: Begin with a square sheet. Fold in half, then in half again. Unfold and fold diagonally, then diagonally again. Fold the top two layers down to the center crease. Repeat this on the other side.
Fold the top corners down. Fold the top edges down and tuck them under. Repeat on the other side. Carefully shape the head and wings.
- Origami Star: Fold a square sheet in half, then in half again. Unfold and fold diagonally, then diagonally again. Fold each corner to the center. Fold each point towards the center. Fold the points outwards to create the star’s points.
- Origami Box: Begin with a square sheet. Fold in half, then in half again. Unfold and fold diagonally, then diagonally again. Fold all four corners to the center. Fold the top and bottom flaps inwards.
Fold the sides inwards to form the box.
Paper choice is critical in origami. Thinner, crisper papers, such as origami paper itself, create sharper folds and more defined shapes. Heavier papers might be more durable but can make folding more challenging. Combining several origami models, like a flock of cranes or a cluster of stars, can create a visually striking and complex decorative piece.
Paper Cut-Outs and Shadow Boxes, Art and craft ideas for home decoration with paper
Paper cut-outs offer a fantastic way to create intricate and captivating shadow box displays. The interplay of light and shadow creates a magical, almost ethereal effect, transforming simple paper into works of art. The key is to experiment with layering and lighting to achieve the desired depth and dimension.
| Shadow Box Design | Complexity | Materials | Estimated Time |
|---|---|---|---|
| Simple Floral Design | Easy | Cardstock, craft knife, shadow box, LED lights | 30-45 minutes |
| Layered Cityscape | Medium | Various colored cardstock, craft knife, shadow box, LED strip lights | 1-2 hours |
| Intricate Animal Silhouette | Hard | Fine detail cardstock, precision craft knife, shadow box, small LED lights | 3-4 hours |
Depth is created by layering the cut-outs at different distances from the back of the box. Backlighting, using LED lights or small lamps, enhances the shadows and brings the cut-outs to life. The shadow box itself can be made from wood, cardboard, or even a repurposed container.
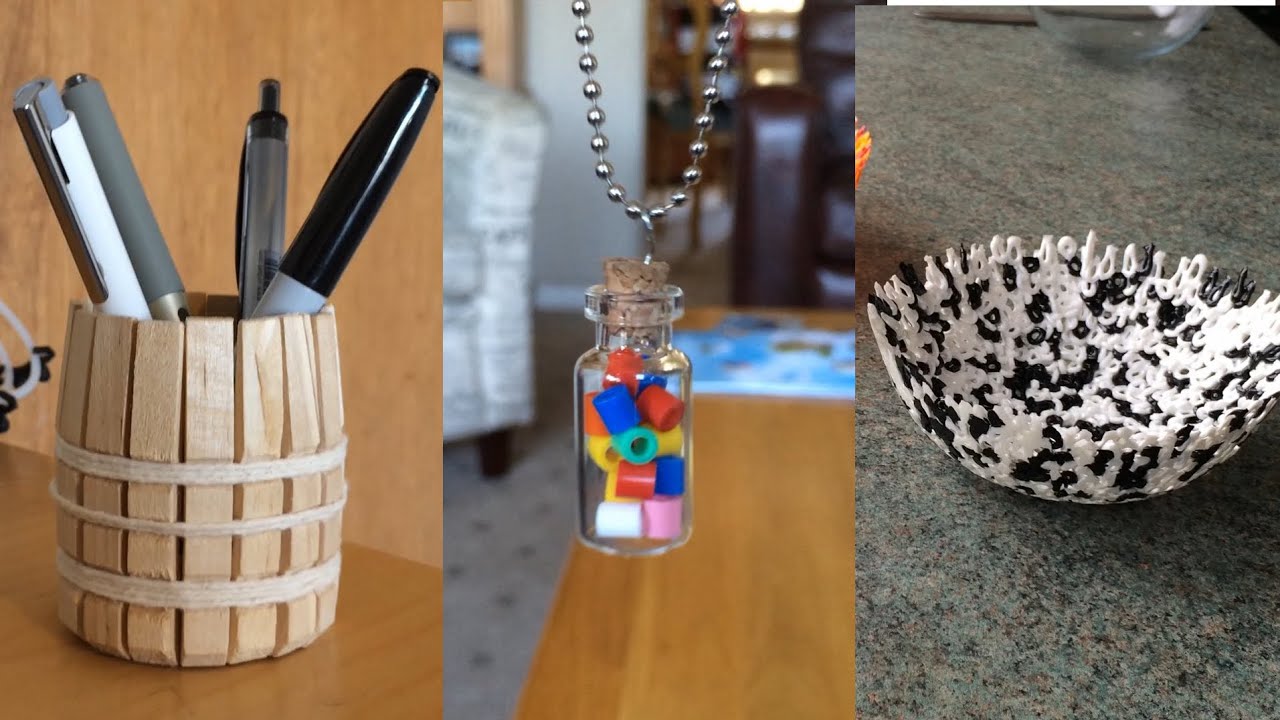
Paper Mache Techniques for Home Decor
Paper mache is a wonderfully versatile technique that allows you to create unique and personalized home décor pieces. From decorative bowls to whimsical sculptures, the possibilities are endless. The key is patience and a steady hand (and maybe some extra newspaper!).
Creating a paper mache bowl involves preparing a paste (usually flour and water), tearing newspaper into strips, and layering the strips onto a balloon (or other form). Once dry, the balloon is popped, and the bowl is painted and decorated. Textured surfaces can be created by using various materials like fabric scraps, string, or even crumpled paper embedded in the layers.
Painting, decoupage, and embellishments can add the finishing touches. The choice of paper impacts the final product; newspaper is common but other papers can add strength and color.
So there you have it – a whirlwind tour of paper crafting possibilities for your home! From the delicate elegance of origami to the dramatic flair of shadow boxes, we’ve shown you that paper is far more than just a blank canvas. It’s a versatile medium waiting to be explored, a gateway to unleashing your creativity, and a surprisingly affordable way to personalize your living space.
Now grab those scissors, unleash your imagination, and get crafting! Your home will thank you for it.
Question & Answer Hub: Art And Craft Ideas For Home Decoration With Paper
What type of glue is best for paper crafts?
A good all-purpose craft glue or a glue stick works well for most paper projects. For more delicate work, consider using a precision glue pen.
Get the entire information you require about diy father’s day gifts on this page.
Where can I find unique paper for my projects?
Specialty craft stores, online retailers, and even scrapbooking supply stores offer a wide variety of papers with different textures, weights, and colors.
How do I preserve my paper crafts?
To protect your finished projects from dust and damage, consider using a sealant spray or framing them.
Can I use recycled paper for these projects?
Absolutely! Recycled paper adds a unique texture and often a lovely earthy tone. Just be mindful of its thickness and potential for tearing.