DIY art projects to do at home: Unleash your inner Picasso (or maybe just your inner crafty person)! Forget expensive art classes and embrace the joy of creating beautiful things from the comfort of your own couch. This guide dives headfirst into a world of painting, paper crafts, sculpting, and recycled art, proving that artistic expression doesn’t require a fancy studio or a hefty bank account.
Get ready to transform ordinary materials into extraordinary masterpieces, all while having a blast.
Whether you’re a seasoned artist or a complete novice, there’s something here for everyone. We’ll walk you through simple techniques, provide handy tips, and inspire you to explore your creative potential. From painting serene landscapes to sculpting whimsical animals and crafting stunning collages from recycled materials, we’ll unlock the artist within you, one project at a time. So grab your supplies, clear a space, and prepare for a creative adventure!
Unleash Your Inner Artist: DIY Art Projects at Home: Diy Art Projects To Do At Home

Tired of the same old routine? Yearning for a creative outlet that’s both fun and fulfilling? Look no further! DIY art projects offer a fantastic way to express yourself, de-stress, and add a personal touch to your home. Whether you’re a seasoned artist or a complete novice, the world of at-home crafting is bursting with possibilities, promising hours of joyful creation and a sense of accomplishment that’s hard to beat.
Get ready to embrace the messy, magnificent world of DIY!
The benefits extend beyond the beautiful creations themselves. Engaging in creative hobbies like DIY art has been linked to reduced stress levels, improved cognitive function, and a boost in overall well-being. It’s a chance to disconnect from the digital world and reconnect with your inner self, fostering mindfulness and a sense of calm amidst the chaos of daily life.
Plus, imagine the pride of displaying your unique, handmade artwork – a testament to your creativity and a conversation starter for any guest!
From vibrant paintings to intricate paper crafts, from whimsical sculptures to eco-friendly recycled masterpieces, the options are as limitless as your imagination. This guide will explore a variety of DIY art projects, perfect for transforming your home into a haven of creativity. So, gather your supplies, put on your favorite playlist, and let’s dive into the delightful world of DIY art!
Easy Painting Projects, Diy art projects to do at home
Painting is a wonderfully accessible art form, perfect for beginners. With a few basic supplies and a dash of creativity, you can create stunning pieces that add personality and vibrancy to your living space. We’ll explore three simple painting techniques, each with its own unique charm and level of difficulty.
| Painting Medium | Cost | Ease of Use | Cleanup |
|---|---|---|---|
| Acrylics | Moderate | Easy | Easy |
| Watercolors | Low | Easy | Easy |
| Gouache | Moderate | Moderate | Easy |
Acrylics are water-based paints that dry quickly, making them ideal for layering and achieving bold colors. Watercolors, known for their delicate washes and transparency, require a lighter touch. Gouache, opaque water-based paints, offer the vibrancy of acrylics with the ease of watercolors.
Materials for Acrylic Painting: Acrylic paints (various colors), brushes (various sizes), palette, water container, canvas or paper, palette knife (optional).
Step-by-Step Acrylic Landscape Painting:
- Sketch a simple landscape Artikel on your canvas.
- Apply a base layer of sky color (light blue).
- Add layers of darker blue and hints of purple for depth.
- Paint the land using earth tones (browns, greens).
- Add details like trees, grass, and a sun.
- Let it dry completely.
Paper Crafts and Collage

Paper crafts and collages offer a world of possibilities, transforming simple materials into stunning works of art. These projects are perfect for unleashing your creativity and are surprisingly easy to accomplish, even for beginners.
Creating a Paper Flower: Cut out several circles from colorful paper. Fold each circle in half, then in half again, and again. Cut petal shapes into the folded edges. Unfold each circle to reveal a beautiful flower. Layer the flowers for a fuller effect.
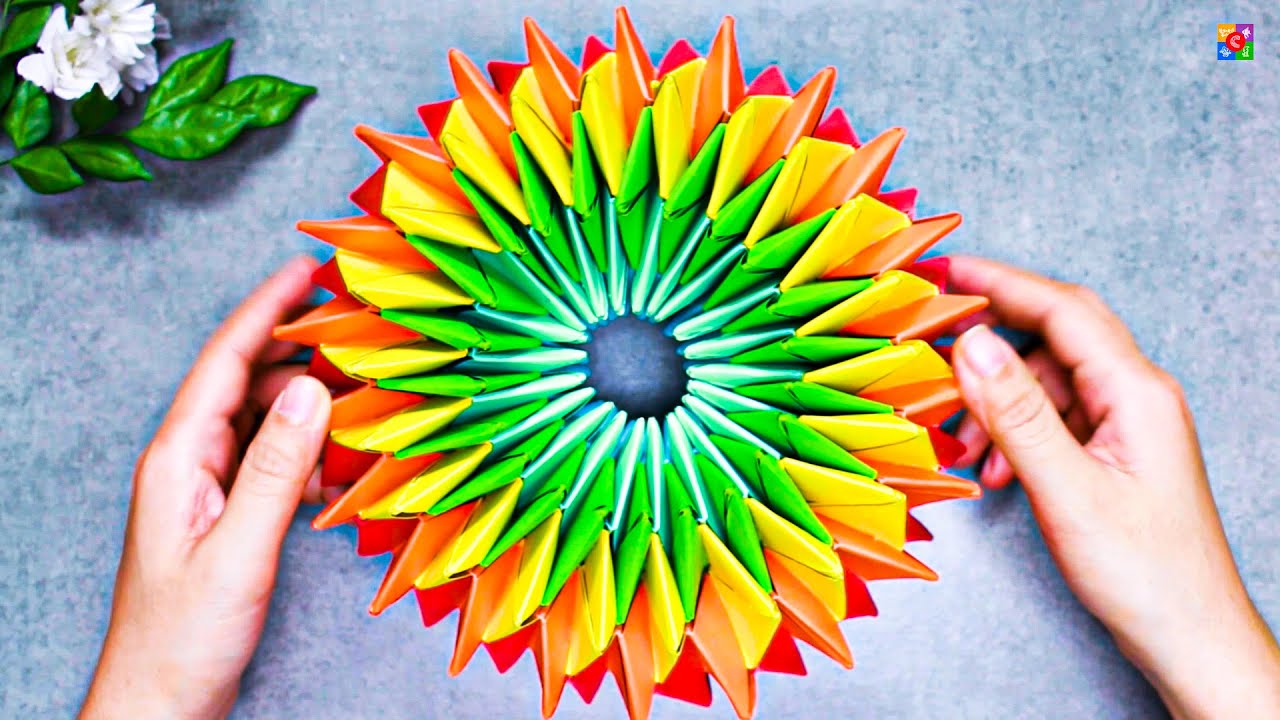
Simple Origami: Start with a square piece of paper. Fold it in half diagonally, then in half again. Fold the top two corners down to the center crease. Fold the bottom point up to the top, creating a triangle. You’ve created a simple origami crane! More complex designs can be found online.
Collage Techniques using Recycled Materials:
- Paper shred collage: Use shredded paper to create textured backgrounds.
- Magazine cutouts: Create vibrant images using cutouts from magazines.
- Cardboard collage: Use cut and shaped cardboard pieces for unique textures.
- Fabric scraps collage: Combine fabric scraps for a textured and colorful effect.
- Newspaper collage: Create monochromatic images using newspaper clippings.
Personalized Greeting Card: Cut shapes from recycled materials, arrange them on cardstock, and glue them down. Add personal messages and embellishments.
Sculpting and Modeling
Sculpting and modeling allow you to bring three-dimensional forms to life. From whimsical animal figures to decorative ornaments, the possibilities are endless. This section explores various materials and techniques for creating your own unique sculptures.
Sculpting a Small Animal Figure with Air-Dry Clay: Roll a ball of clay for the body. Add smaller balls for the head, legs, and tail. Use tools to shape and refine the details. Let it dry completely.
Modeling Clay Comparison: Air-dry clay is lightweight and easy to use, but can crack if it dries too quickly. Polymer clay requires baking, resulting in a more durable and water-resistant sculpture.
Salt Dough Ornaments: Mix flour, salt, and water to create a dough. Roll it out, cut out shapes using cookie cutters, and bake until hardened. Decorate with paint and glitter.
Repurposing Leftover Clay: 1. Make tiny beads. 2. Create textured stamps. 3.
Roll into thin sheets for layering in other projects.
Recycled Material Art
Embrace sustainability and unleash your creativity by using recycled materials for your art projects. This not only reduces waste but also allows for unique and innovative creations.
Recycled Materials for Art:
- Plastic bottles
- Cardboard boxes
- Newspaper
- Tin cans
- Egg cartons
Decorative Mobile from Recycled Materials: Cut shapes from cardboard, plastic, or tin cans. Decorate them with paint, glitter, or other embellishments. Attach them to strings and hang them from a central point.
Environmental Benefits: Using recycled materials reduces landfill waste, conserves natural resources, and promotes a more sustainable approach to art making.
Recycled Jewelry: Use bottle caps, buttons, or other small recycled items to create unique earrings, necklaces, or bracelets.
Nature-Inspired Art
Nature provides an endless source of inspiration and materials for art projects. This section explores ways to incorporate natural elements into your creations, creating beautiful and meaningful artwork.
Leaf Rubbings: Place a leaf under a sheet of paper. Rub the side of a crayon over the paper to create an impression of the leaf’s texture and shape.
Nature-Inspired Prints:
- Leaf printing: Use leaves to create prints using paint or ink.
- Flower pressing: Press flowers to create beautiful prints on paper.
- Bark rubbing: Use bark to create textured prints.
Nature-Themed Collage: Collect natural elements like leaves, twigs, and flowers. Arrange them on a surface and glue them down to create a unique collage.
Painting Rocks: Collect smooth rocks and paint them with designs inspired by nature, like ladybugs, flowers, or animals.
Displaying Your Artwork
Once you’ve created your masterpieces, it’s important to display them in a way that showcases their beauty and adds to your home’s decor. Here are some ideas for creating a gallery wall and displaying your artwork creatively.
Gallery Wall: Arrange your artwork on a wall in a visually appealing way. Use different frame sizes and styles for a more dynamic look. Consider adding some plants or other decorative elements to enhance the overall aesthetic.
Inexpensive Framing: Use inexpensive frames from craft stores or repurpose old picture frames. You can also create simple frames from cardboard or wood.
Displaying 3D Artwork: Use shelves, pedestals, or even repurposed objects to display three-dimensional artwork like sculptures or mobiles.
Creative Display Ideas:
- Use clothespins to hang small artwork on a string.
- Create a mobile using your small artwork.
- Display artwork on a magnetic board.
- Use washi tape to create a unique display.
- Display artwork in shadow boxes.
So there you have it – a whirlwind tour of DIY art projects you can tackle right at home! From the simple satisfaction of a perfectly executed leaf rubbing to the proud display of your own hand-sculpted masterpiece, the journey of creation is as rewarding as the final product. Remember, the most important ingredient isn’t expensive materials or years of training, it’s your imagination and a willingness to get a little messy.
So ditch the screens, embrace the chaos, and let your creativity run wild. Happy crafting!
FAQs
What if I don’t have any artistic talent?
Don’t worry! These projects are designed for all skill levels. The focus is on fun and experimentation, not perfection.
How much will these projects cost?
Many of these projects use inexpensive or recycled materials, making them budget-friendly.
How long do these projects take?
The time commitment varies greatly depending on the project’s complexity, ranging from a few minutes to a few hours.
Obtain direct knowledge about the efficiency of craft ideas for kids solar system through case studies.
What if I mess up?
Embrace the mistakes! They’re part of the learning process. Plus, sometimes “happy accidents” lead to the most unique creations.
Where can I find supplies?
Many supplies can be found around your home or at dollar stores, craft stores, or even online retailers.