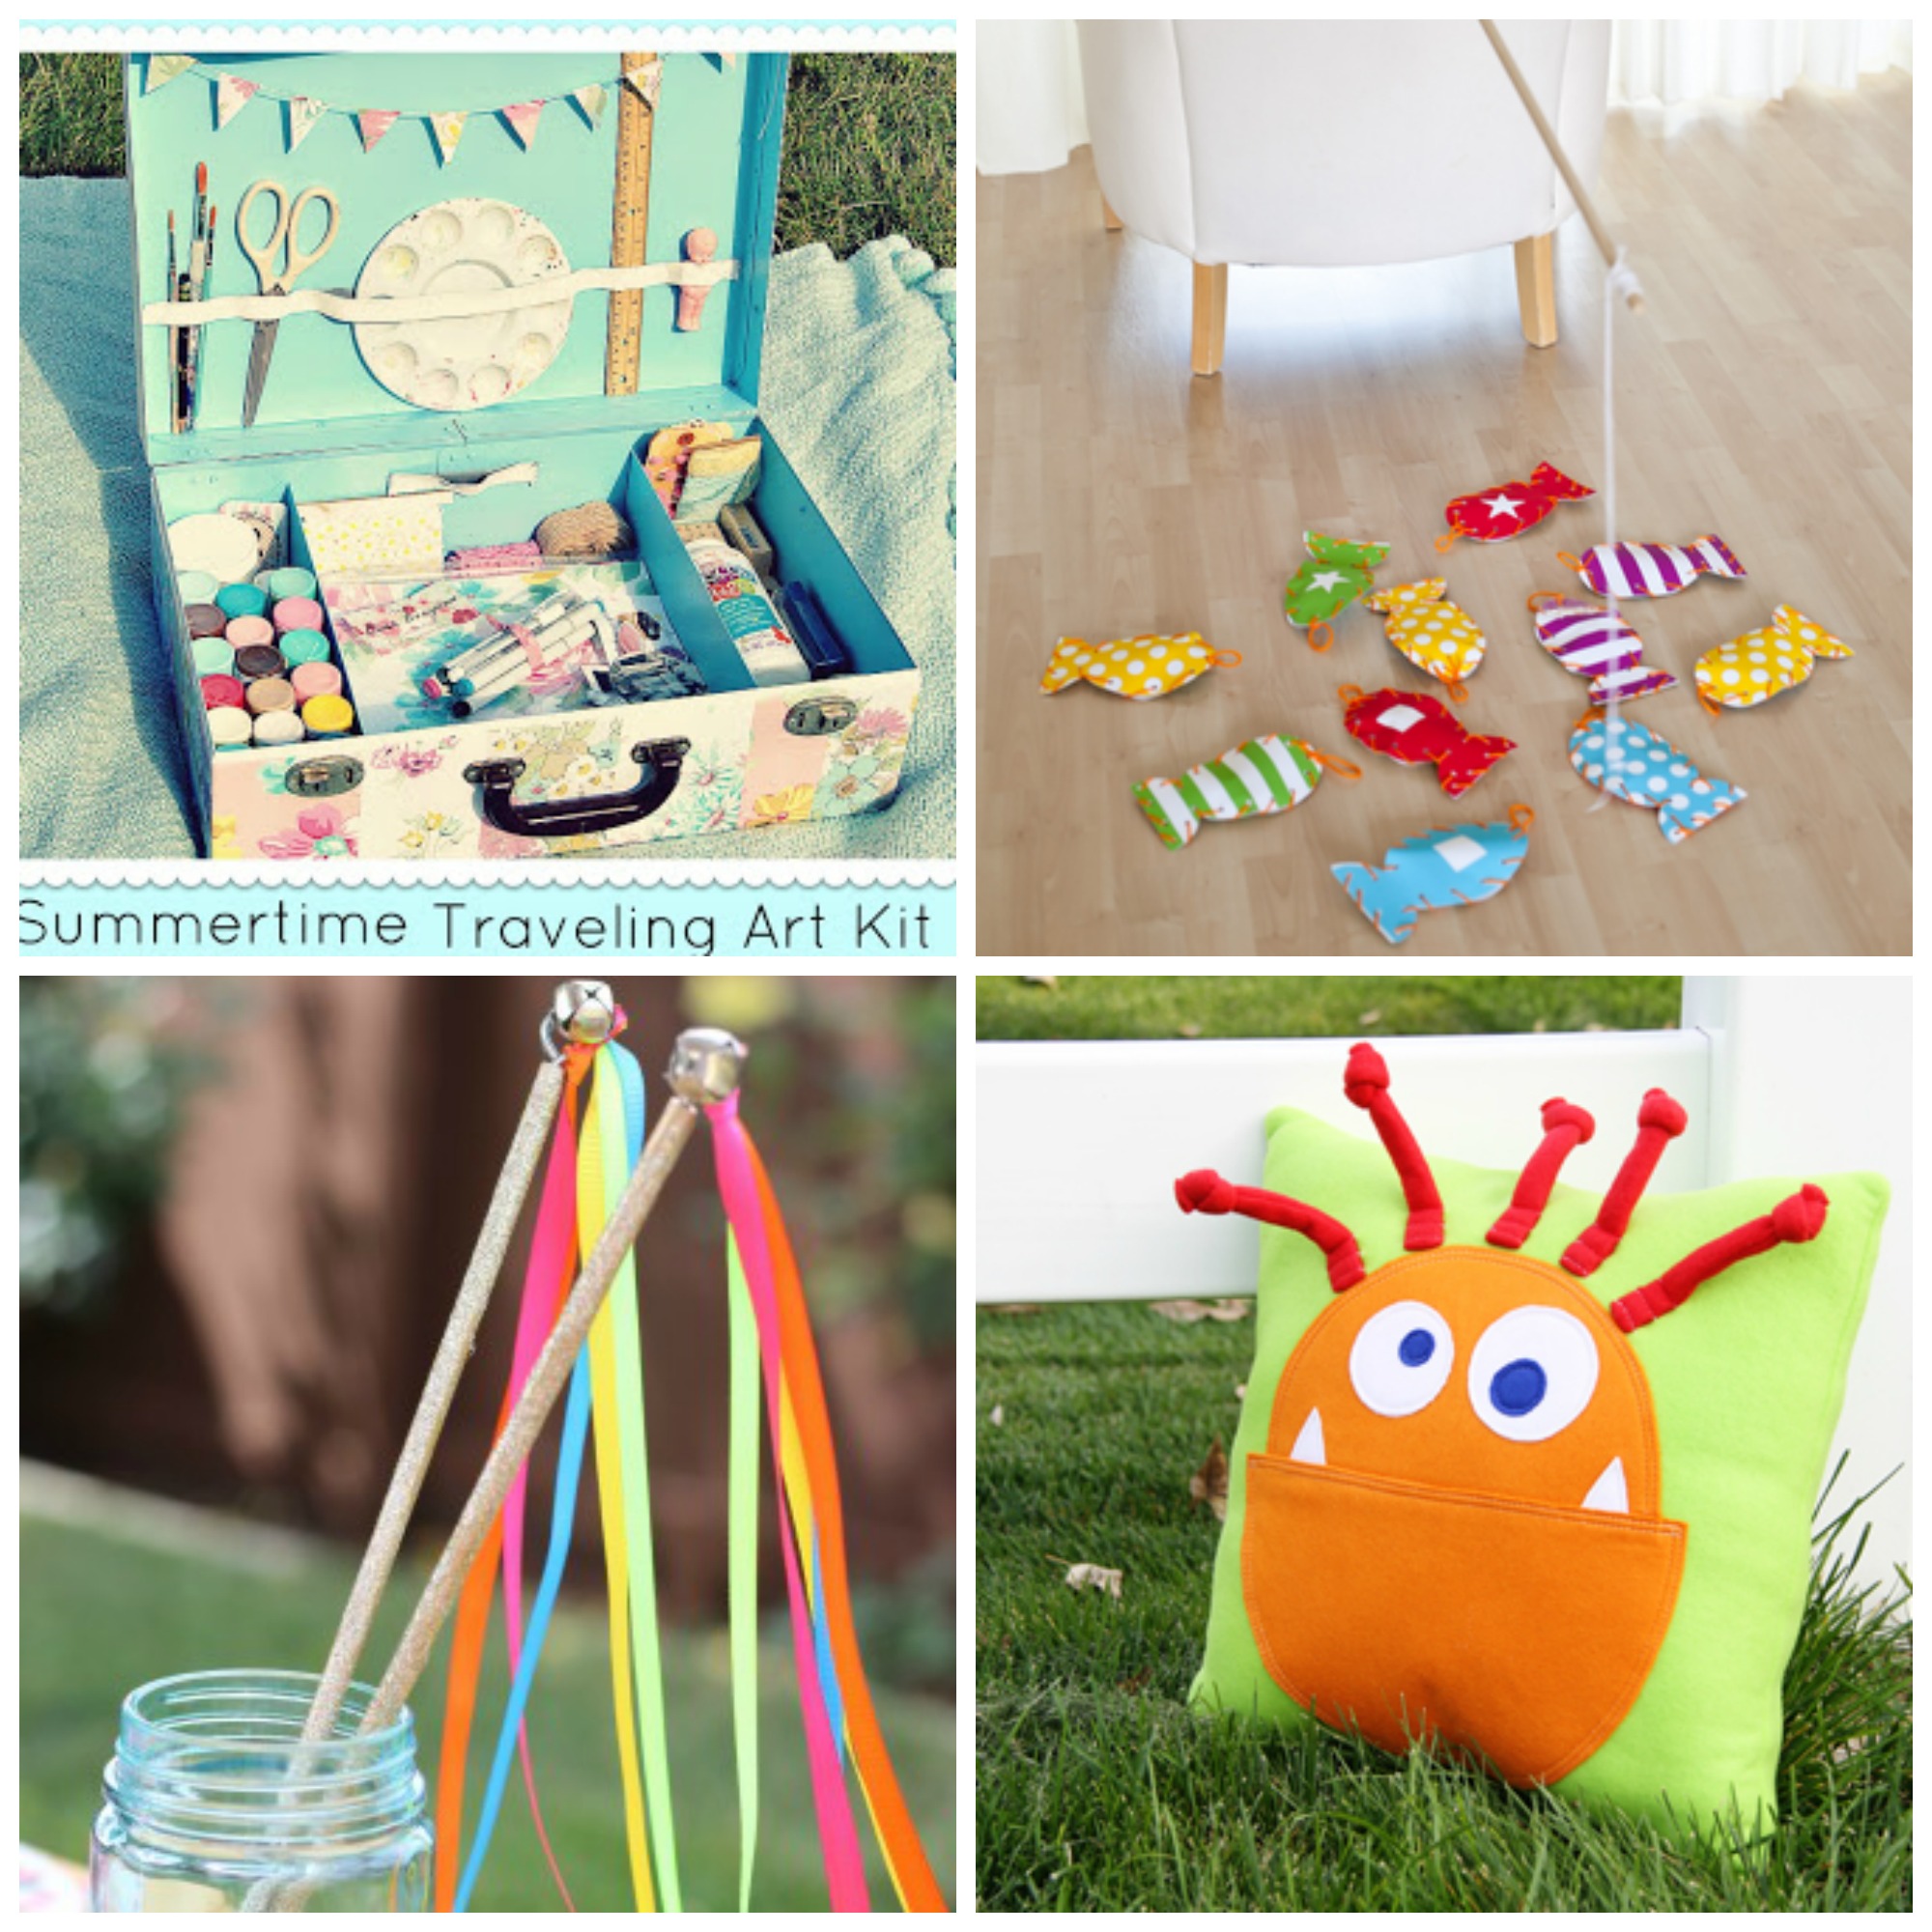
Diy gift ideas for kids – DIY Gift Ideas for Kids: Forget the generic store-bought stuff! Prepare to embark on a crafting adventure filled with glitter, glue, and maybe a few strategically placed safety goggles. This isn’t your grandma’s knitting circle; we’re talking about transforming everyday materials into extraordinary gifts that kids will actually cherish (and maybe even
-gasp* use!). From toddler-friendly masterpieces to tween-worthy treasures, we’ve got the ingenious ideas, step-by-step instructions, and a healthy dose of creative chaos to make this gift-giving season truly unforgettable.
Get ready to unleash your inner crafting ninja!
This guide dives deep into age-appropriate projects, explores the magic of recycled materials versus fancy craft store finds, and helps you brainstorm themed gifts that will leave kids (and their parents!) utterly impressed. We’ll navigate the sometimes-tricky terrain of crafting with kids, offering safety tips and solutions to common kid-crafted calamities. So grab your glue guns, gather your glitter, and let’s get crafting!
Age-Appropriate DIY Gift Ideas
Crafting personalized gifts for kids is a fantastic way to show your love and nurture their creativity. But choosing the right project depends heavily on their age and skill level. Below, we’ve categorized some fun DIY gift ideas, ensuring a perfect fit for every young crafter.
Age-Appropriate DIY Gift Ideas by Age Group
This table provides a curated list of DIY gift ideas, categorized by age group, along with necessary materials and a brief summary. Remember to adjust the complexity based on the child’s individual abilities.
| Age Group | Gift Idea | Materials Needed | Summary |
|---|---|---|---|
| Toddler (1-3 years) | Painted Handprint Art | Non-toxic paint, paper, possibly a simple frame | A classic and sentimental gift, perfect for showcasing tiny hands. |
| Preschool (3-5 years) | DIY Playdough | Flour, salt, water, oil, food coloring | Kids love making and playing with their own playdough, fostering creativity and sensory exploration. |
| School-Aged (6-12 years) | Decorated Photo Frame | Wooden or cardboard frame, paint, glitter, glue, embellishments | Personalize a frame with their favorite photos, allowing for self-expression and artistic flair. |
| Tween (10-13 years) | Personalized Phone Case | Plain phone case, paint markers, stickers, Mod Podge | A trendy and useful gift that lets tweens express their unique style. |
Visual Representations and Modifications:
Toddler (Painted Handprint Art): Imagine a vibrant, slightly messy handprint in cheerful primary colors on a crisp white background. The composition is simple, focusing on the handprint as the central element. The aesthetic is playful and endearing. Modifications: For less messy toddlers, use finger paints instead of larger brushes. For more advanced toddlers, introduce stencils or simple shapes to trace within the handprint.
Preschool (DIY Playdough): Picture a colorful, textured mound of playdough, perhaps with swirls of different colors mixed together. The composition is organic and inviting. The aesthetic is playful and tactile. Modifications: Simpler modifications involve using fewer colors or pre-mixing the dough. More advanced kids can experiment with adding scents (like vanilla extract) or textures (like glitter).
School-Aged (Decorated Photo Frame): Visualize a wooden frame adorned with colorful paint, glitter, and possibly small, carefully glued embellishments like buttons or beads. The composition is balanced, showcasing the photo as the focal point while the decorations enhance it. The aesthetic is personalized and expressive. Modifications: Start with simple paint designs for beginners. More advanced kids can try intricate designs, layering techniques, or decoupage.
Tween (Personalized Phone Case): Envision a plain phone case transformed into a unique accessory with vibrant paint markers, carefully placed stickers, and a glossy finish from Mod Podge. The composition is stylish and modern, reflecting the tween’s personality. The aesthetic is trendy and personalized. Modifications: Beginners can focus on simple designs or sticker applications. More experienced tweens can try more complex painting techniques, layering, or adding 3D embellishments.
DIY Gift Ideas Based on Material: Diy Gift Ideas For Kids
The choice of materials significantly impacts the final product and the crafting process. Let’s explore different material options and their unique advantages and disadvantages.
Recycled Materials
Repurposing materials not only reduces waste but also encourages creativity and resourcefulness. Turning trash into treasure is a rewarding experience for both kids and adults! For instance, old cardboard boxes can be transformed into miniature houses or cars. Plastic bottles can be upcycled into quirky planters or pencil holders. Tin cans can be painted and used as storage containers.
The possibilities are as limitless as your imagination.
Natural vs. Craft Store Materials
Both natural and craft store materials offer unique advantages and disadvantages:
- Natural Materials (wood, clay, etc.):
- Advantages: Eco-friendly, often have a unique texture and aesthetic appeal.
- Disadvantages: Can be more difficult to work with, may require specialized tools.
- Craft Store Materials (felt, beads, etc.):
- Advantages: Readily available, often pre-cut and easy to use, come in a wide variety of colors and textures.
- Disadvantages: Can be less eco-friendly, may not have the same unique character as natural materials.
DIY Gift Ideas Using Household Items
Many everyday household items can be repurposed into unique gifts. Old socks can become puppets, empty jars can become whimsical candle holders, and cardboard tubes can be transformed into binoculars or pencil holders. The key is to think outside the box and let your creativity guide you.
Themed DIY Gift Ideas
Adding a theme to your DIY gifts elevates them from simple crafts to personalized expressions of care. Here are some popular themes and gift ideas to inspire you.
Themed Gift Ideas
| Theme | Gift Idea | Materials List |
|---|---|---|
| Animals | Animal Masks | Cardboard, paint, elastic |
| Clay Animals | Air-dry clay, paint, varnish | |
| Animal Finger Puppets | Socks, felt, glue, buttons | |
| Decorated Picture Frames with Animal Motifs | Wooden frames, paint, animal stencils | |
| Animal-themed Bookmarks | Cardboard, paint, ribbon | |
| Nature | Leaf Rubbings | Paper, crayons, leaves |
| Nature Collages | Cardboard, glue, natural materials (leaves, twigs, flowers) | |
| Pinecone Crafts | Pinecones, paint, glue, glitter | |
| Pressed Flower Art | Flowers, heavy books, paper, glue | |
| Stone Painting | Smooth stones, paint, sealant | |
| Holidays | Holiday Cards | Cardstock, markers, crayons |
| Holiday Ornaments | Cardboard, paint, string | |
| Gingerbread House (with pre-made pieces) | Pre-made gingerbread pieces, icing, candy | |
| Holiday-themed Candles | Soy wax, wicks, essential oils, jars | |
| Holiday-themed Soap Making Kit (with pre-made soap base) | Pre-made soap base, essential oils, molds |
Adapting a basic project to a specific theme is simply a matter of adding themed elements. For example, a plain painted rock can become a ladybug with the addition of black dots and antennae. Personal touches, such as adding a child’s name or a special message, make the gift even more meaningful.
Step-by-Step Instructions for Selected DIY Projects
Let’s delve into the detailed process of creating three unique DIY gifts, highlighting potential challenges and solutions along the way.
Painted Handprint Art

Preparation: Gather non-toxic paint, paper, and a protective surface. Steps:
1. Spread out a large sheet of paper.
2. Help the toddler dip their hand in the paint.
3. Gently press their hand onto the paper.
4. Allow the paint to dry completely.
5.
(Optional) Add details like a simple frame or embellishments. Finishing Touches: Display the artwork proudly!
You also can investigate more thoroughly about diy toilet paper holder ideas to enhance your awareness in the field of diy toilet paper holder ideas.
Potential Challenges & Solutions: Messiness is expected! Use a smock or old clothes. If the handprint is smudged, simply start over with a fresh sheet of paper.
Decorated Photo Frame
Preparation: Gather a plain wooden or cardboard frame, paint, glue, embellishments, and brushes. Steps:
1. Prepare the frame by cleaning it and applying a base coat of paint.
2. Once dry, add decorative elements like glitter, paint designs, or stickers.
3. Allow the decorations to dry completely.
4. Insert the chosen photo. Finishing Touches: Add a personal touch like a handwritten message on the back.
Potential Challenges & Solutions: Glue can be messy. Use a small amount and apply it carefully. If embellishments fall off, use a stronger glue or apply more pressure when attaching.
DIY Playdough, Diy gift ideas for kids
Preparation: Gather flour, salt, water, oil, and food coloring. Steps:
1. Combine flour and salt in a saucepan.
2. Gradually add water and oil, stirring constantly over low heat.
3. Once a dough forms, remove from heat and let cool slightly.
4. Divide the dough into portions and add food coloring.
5.
Knead each portion until the color is evenly distributed. Finishing Touches: Store the playdough in an airtight container.
Potential Challenges & Solutions: The dough might be too sticky or too dry. Adjust the amount of water or flour accordingly. If the dough cracks, add a little more oil.
Safety Considerations for Children Making DIY Gifts
Safety is paramount when working with craft materials. These precautions will help ensure a fun and safe crafting experience for everyone.
Safety Precautions

- Always supervise young children when using scissors, glue, or paint.
- Choose non-toxic craft materials whenever possible.
- Keep small parts out of reach of young children to prevent choking hazards.
- Ensure proper ventilation when using paints or other materials with strong odors.
- Wash hands thoroughly after completing the project.
Age-Appropriate Supervision
Supervision levels should be adjusted based on the child’s age and abilities. Toddlers require constant supervision, while older children may need less direct oversight. Always be present to assist with potentially hazardous steps or materials.
Adapting Projects for Different Abilities
For children with disabilities, modify projects to accommodate their individual needs. For example, use larger tools or provide alternative ways to complete certain steps. The goal is to ensure that all children can participate and enjoy the crafting process.
So there you have it – a treasure trove of DIY gift ideas for kids, ready to be unleashed upon the unsuspecting recipients of your creative genius! Remember, the most valuable ingredient isn’t just the glitter or the glue, but the love and effort you pour into each unique creation. Embrace the mess, celebrate the imperfections, and revel in the joy of crafting memories that will last a lifetime (or at least until the next birthday!).
Happy crafting!
Helpful Answers
What if my child isn’t artistically inclined?
Don’t worry! Many of these projects focus on simple techniques and the joy of the process, not perfection. Focus on having fun and making memories together.
How can I make these gifts more personalized?
Incorporate the child’s name, favorite colors, or interests into the design. Add a handwritten card with a special message.
What’s the best way to store leftover craft supplies?
Use clear plastic containers or labeled zip-top bags to keep things organized and prevent spills.
What if my child gets frustrated?
Take breaks, offer encouragement, and focus on the fun aspects of the project. Remember, it’s about the experience, not a perfect end product.

