Craft ideas for kids using buttons: unleash your inner button-pushing artist! Forget those boring, plain crafts – we’re diving headfirst into a world of whimsical creations where buttons become magical building blocks. Prepare for a riot of color, texture, and surprisingly satisfying crafting experiences that will leave both kids and adults giggling with glee. Get ready to transform humble buttons into dazzling masterpieces!
This guide is your passport to a world of button-based brilliance. We’ll explore everything from simple preschool projects to more advanced techniques, ensuring there’s something for every budding button enthusiast. We’ll cover safety tips, organizational strategies, and even delve into the fascinating world of button adhesives (yes, it’s as exciting as it sounds!). So grab your buttons, your glue, and prepare for a crafting adventure that’s as fun as it is creative.
Button Art Basics
Let’s dive into the wonderfully wacky world of button crafts! Buttons, those tiny discs of color and texture, are surprisingly versatile tools for unleashing a child’s creativity. From simple mosaics to intricate animal creations, the possibilities are as boundless as a child’s imagination (almost!).
Types of Buttons for Kids’ Crafts
The button world is a colorful kaleidoscope! For kids’ crafts, consider buttons of various sizes, shapes, and materials. Larger buttons are easier for little hands to manipulate, while smaller ones add detail. Plastic buttons are generally safer and easier to work with than glass or metal buttons. Think about using buttons with fun textures, like bumpy, shiny, or even glittery ones! The more variety, the more exciting the craft.
Simple Button Crafts for Preschoolers
Even the littlest crafters can create button masterpieces! These simple projects are perfect for developing fine motor skills and sparking creativity.
- Button Spiders: Use a large button as the body and pipe cleaners as legs. Simple, yet effective!
- Button People: Glue buttons onto construction paper to create faces and bodies. Add yarn for hair!
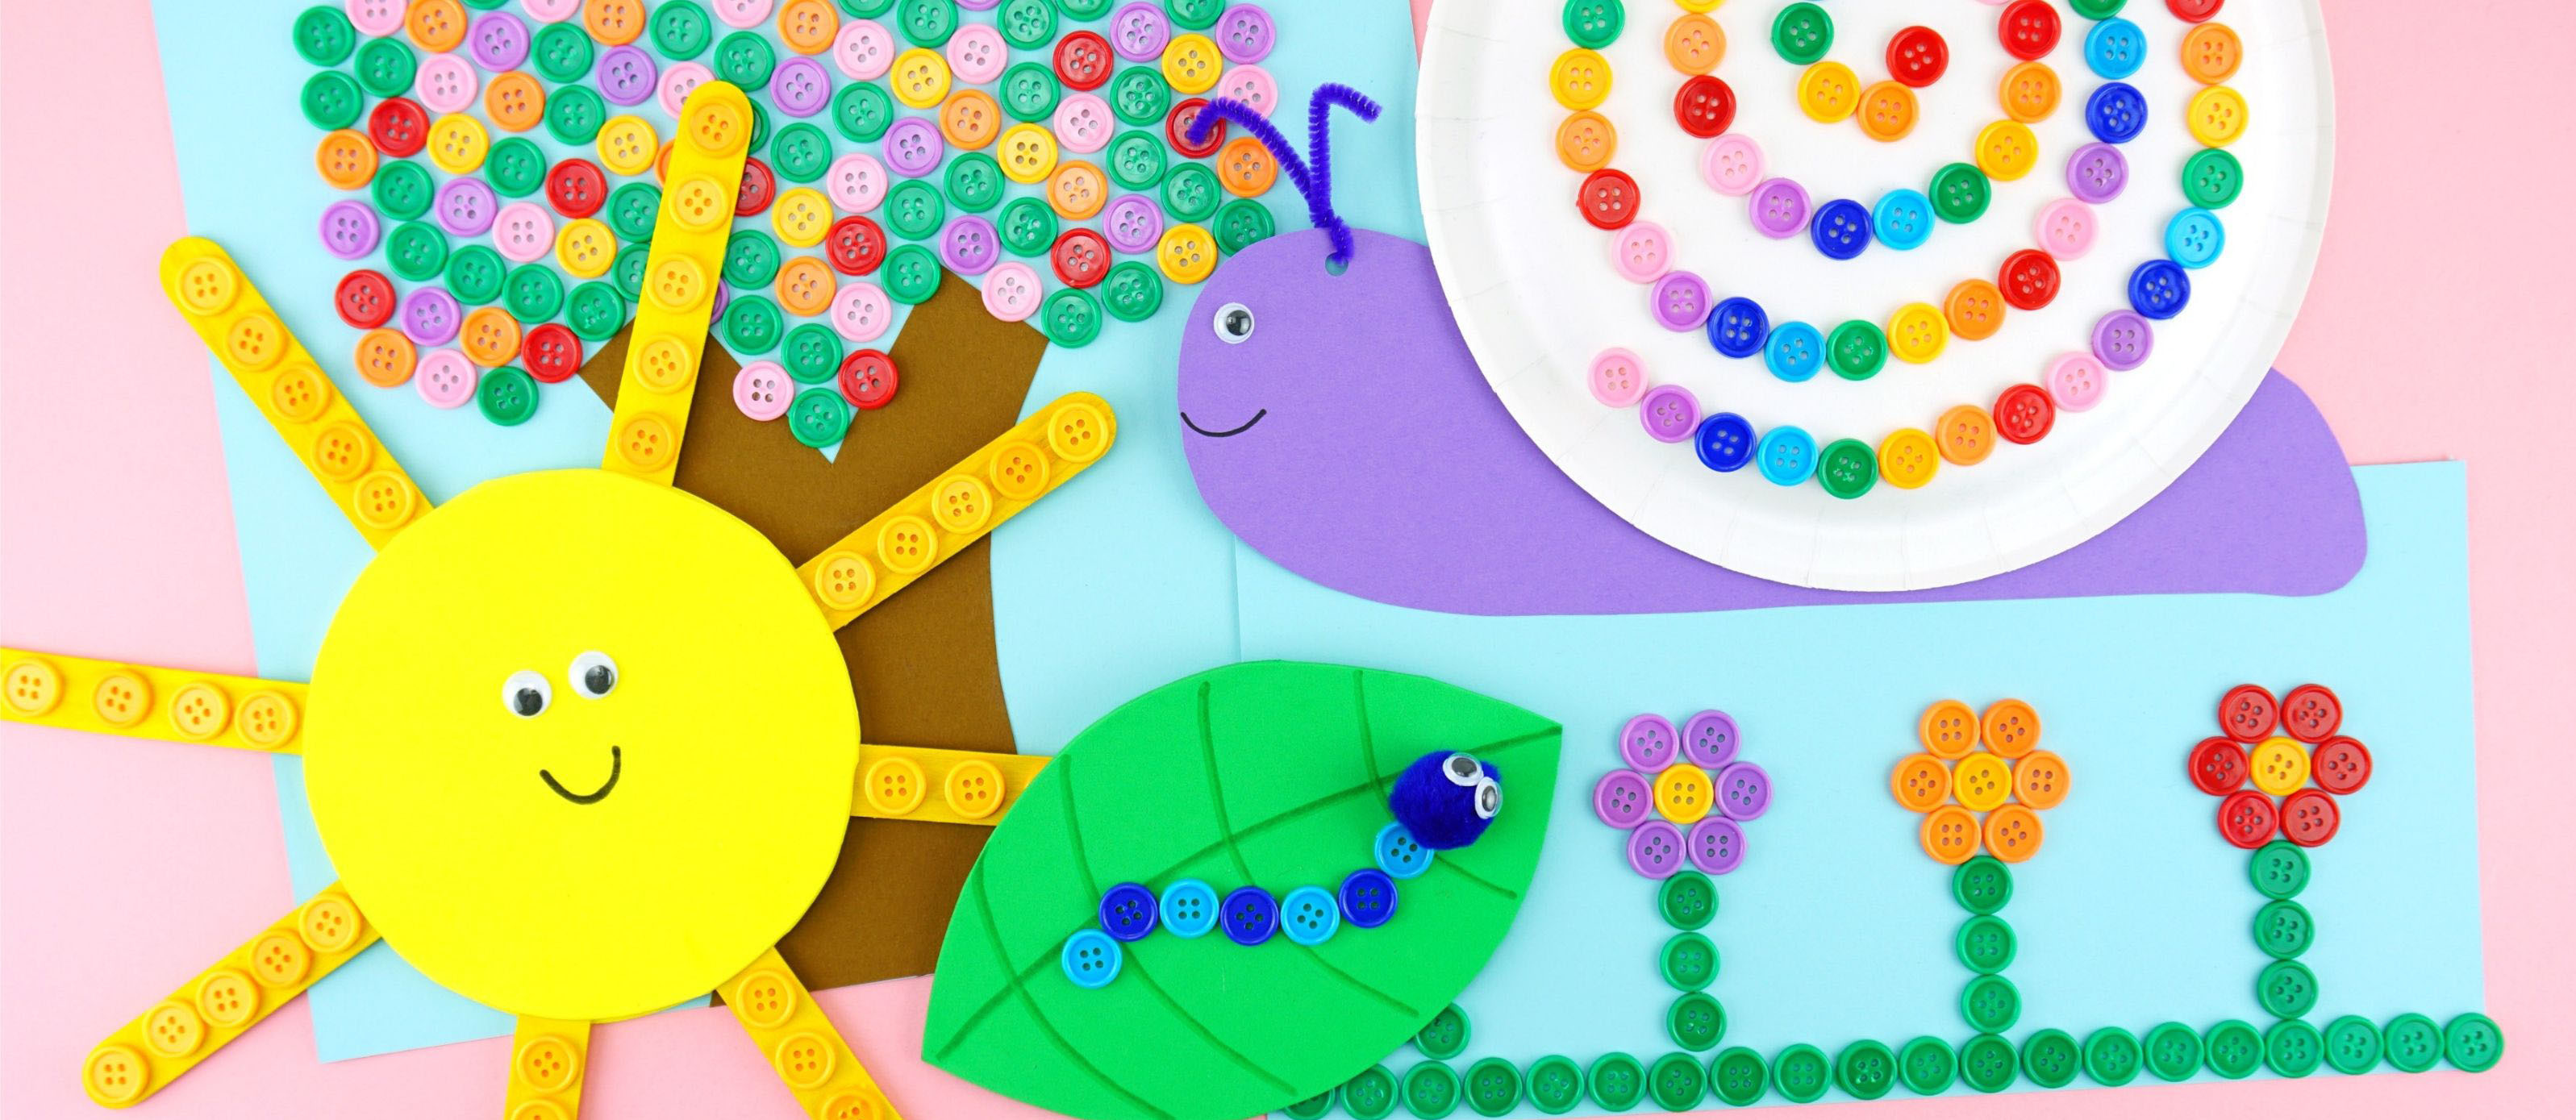
- Button Trees: Glue buttons onto brown construction paper to create a tree trunk and branches. Add green construction paper leaves.
- Button Sun: Use yellow buttons of various sizes to create a sunny face. Add smaller buttons for details.
- Button Flowers: Glue various colored buttons onto circles of construction paper to make pretty flowers. Add stems with green pipe cleaners.
Creating a Button Mosaic Picture
Making a button mosaic is like creating a tiny, colorful world! Here’s a step-by-step guide:
- Sketch your design: Lightly draw your picture on a piece of sturdy paper or cardboard.
- Choose your buttons: Select buttons in various colors and sizes to match your design.
- Arrange your buttons: Before gluing, arrange the buttons on your picture to ensure you’re happy with the design. This is like a dress rehearsal for your button masterpiece!
- Apply adhesive: Use a strong, kid-friendly adhesive like school glue or a glue stick. Apply a small amount of glue to the back of each button before placing it on the paper.
- Let it dry: Allow the glue to dry completely before displaying your artwork. This could take a few hours, depending on the adhesive used.
Comparison of Adhesives for Button Crafts, Craft ideas for kids using buttons
Choosing the right glue is key for a successful button craft. Here’s a comparison of popular options:
| Adhesive | Pros | Cons | Suitable for |
|---|---|---|---|
| School Glue | Affordable, widely available, easy to use | Can take a long time to dry, may not be suitable for all surfaces | Younger children, simple projects |
| Glue Stick | Clean, easy to use, dries quickly | May not be strong enough for heavier buttons or large projects | Younger children, smaller projects |
| Hot Glue Gun (Adult Supervision Required) | Strong bond, dries quickly | Can be dangerous for children, requires adult supervision | Advanced projects, older children with adult supervision |
| Fabric Glue | Strong bond, flexible, works well with fabric-covered buttons | Can be more expensive, may take longer to dry | Projects involving fabric, older children |
Button Animals and Characters
Transform ordinary buttons into extraordinary creatures! With a little imagination and some glue, you can create a whole menagerie of button animals.
Creating Animal Shapes with Buttons
The secret to successful button animals lies in using buttons of varying sizes and colors to create different body parts. A large button might form the body, while smaller buttons become eyes, noses, and other details. Experiment with different button shapes – round, square, oval – to add character to your creations!
Making a Button Ladybug
This charming creature is a perfect beginner project. Use a large red button for the body and smaller black buttons for the spots. Add tiny button eyes for extra cuteness!
Crafting a Whimsical Button Monster
Let your imagination run wild! Use buttons of all shapes, sizes, and colors to create a truly unique button monster. Big buttons can be the body, while smaller ones can become eyes, teeth, and other fun features. Don’t be afraid to get creative and add other craft supplies like yarn, felt, or pipe cleaners!
Different Animal Characters Created with Buttons
The possibilities are endless! Here are just a few ideas to get you started:
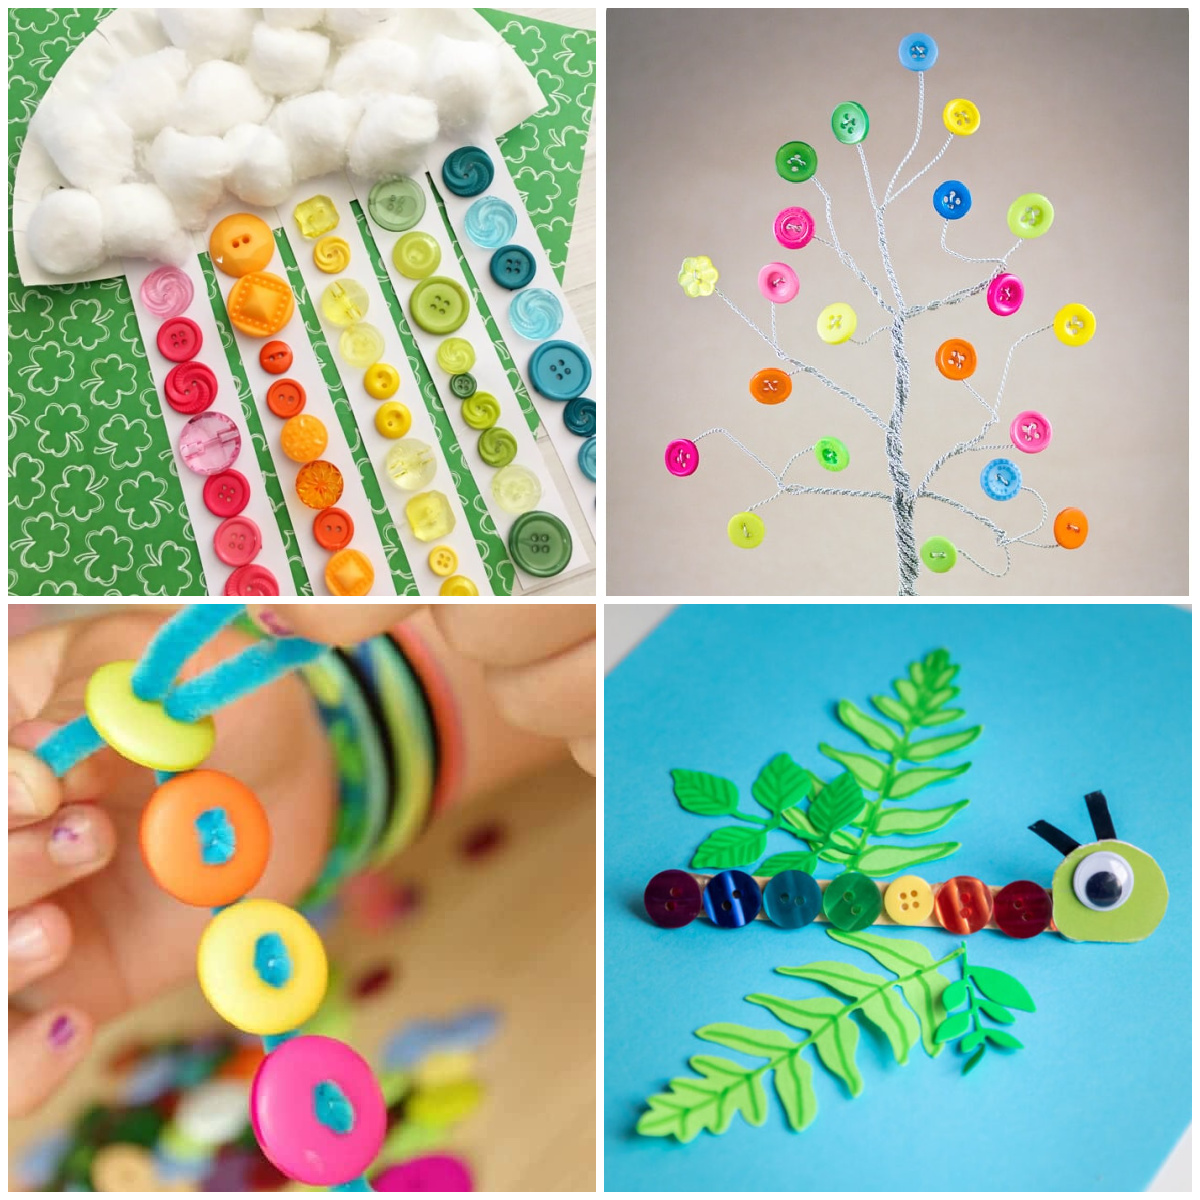
- Caterpillar: A line of buttons of increasing size, with small buttons as eyes.
- Owl: Large round buttons for the eyes, smaller buttons for the beak and feet.
- Fish: Oval buttons for the body, smaller buttons for the eyes and fins.
- Frog: Green buttons for the body, smaller buttons for the eyes and spots.
- Hedgehog: A round button for the body, with smaller buttons glued around it to form the quills.
Button Jewelry and Accessories: Craft Ideas For Kids Using Buttons
Turn those humble buttons into dazzling accessories! Button jewelry is a fun and easy way to add a personal touch to any outfit, and it’s a great way to recycle old buttons.
Creating a Simple Button Bracelet

String colorful buttons onto a piece of elastic cord or strong string. Tie the ends securely, and you have a unique bracelet. Experiment with different button sizes and colors to create a variety of bracelets.
Making Button Earrings for Children

Safety is paramount when making children’s earrings. Use lightweight buttons and secure them firmly to earring posts designed for children’s use. Avoid using small buttons that could pose a choking hazard.
Creating a Button Necklace with a Unique Pattern
Plan out a pattern before you start. This could be a simple repeating design or a more complex arrangement. Use strong thread or cord and a needle to string your buttons. Secure the ends with a clasp.
Different Types of Button Jewelry
Get creative with your button jewelry!
- Button Rings: Glue buttons onto metal ring bases.
- Button Brooches: Attach buttons to brooch backs.
- Button Keychains: Attach buttons to keychain rings.
- Button Hair Clips: Glue buttons onto hair clips.
- Button Anklets: Similar to bracelets, but for your ankles.
Advanced Button Crafts
Once you’ve mastered the basics, it’s time to take your button crafts to the next level! These projects require a bit more skill and patience, but the results are well worth the effort.
Button-Covered Picture Frame
Cover a plain picture frame with buttons to create a unique and textured piece of art. Arrange the buttons in patterns, colors, or even a random design for a more abstract look. Use a strong adhesive suitable for the frame material.
Creating 3D Button Art
Add depth and dimension to your button creations by layering buttons. Experiment with different button shapes and sizes to create interesting textures and forms. Consider adding other materials like wire or beads to enhance the 3D effect.
Making a Button-Embellished Greeting Card
Add a touch of whimsy to your greeting cards by embellishing them with buttons. Create patterns, designs, or simply add a few buttons as accents. Use a strong adhesive that won’t damage the cardstock.
Incorporating Buttons into Existing Craft Projects
Buttons can add a unique touch to a variety of craft projects.
- Felt Animals: Add buttons as eyes, noses, or other details to felt animals.
- Fabric Flowers: Use buttons as centers for fabric flowers.
- Paper Mache: Incorporate buttons into paper mache creations for added texture and detail.
Button Craft Safety and Organization
Safety and organization are crucial when working with buttons, especially with children. A little preparation goes a long way in ensuring a fun and safe crafting experience.
Safety Tips for Button Crafts
Always supervise young children during button crafts. Small buttons pose a choking hazard, so keep them away from young children who might put them in their mouths. Use age-appropriate adhesives and tools.
Organizing Buttons
A well-organized button collection makes crafting easier and more enjoyable. Use clear containers, such as jars or plastic boxes, to store buttons of different sizes and colors. Label each container to easily identify the contents. You can even sort them by color, shape, or size for easy access during crafting sessions. Consider using small drawers or a divided craft organizer for a more organized system.
Visualize this as a rainbow of button-filled containers, each a testament to your crafting prowess!
Common Mistakes to Avoid
Avoid these common pitfalls for smoother crafting:
- Using the wrong adhesive: Choose an adhesive suitable for the materials you’re using.
- Not letting the glue dry completely: This can lead to buttons falling off.
- Using buttons that are too small for young children: This poses a choking hazard.
- Not supervising children adequately: This is crucial for safety.
- Poor button arrangement: Plan your design before gluing buttons to avoid mistakes.
Importance of Adult Supervision
Adult supervision is essential for all button craft activities, especially for young children. This ensures the children’s safety and helps guide them through the crafting process.
So there you have it – a treasure trove of button-based brilliance, ready to transform ordinary buttons into extraordinary creations! From adorable button animals to dazzling jewelry and beyond, the possibilities are as limitless as your imagination. Remember to embrace the mess, celebrate the creativity, and most importantly, have a blast crafting with your little ones. The memories made (and the slightly sticky fingers) will be well worth it!
FAQ Overview
What kind of glue works best for button crafts?
Hot glue is great for older kids with supervision, but craft glue or even strong double-sided tape works well for younger ones.
How can I prevent buttons from falling off?
Use plenty of glue, let it dry completely, and consider adding a sealant for extra security.
What if my child tries to eat a button?
Always supervise young children during crafting and keep small buttons out of reach. If ingestion occurs, contact a doctor immediately.
Learn about more about the process of diy christmas home decor ideas in the field.
Where can I find lots of buttons?
Thrift stores, craft stores, and even your own button jar are great places to find a wide variety of buttons!

