DIY Ideas With Tissue Paper: unleash your inner artist and transform humble tissue paper into breathtaking blooms, whimsical children’s crafts, and dazzling decorations! From delicate paper flowers that would make even a florist jealous, to vibrant garlands that’ll transform any space into a party paradise, we’ve got a tissue paper adventure waiting for you. Prepare to be amazed by the versatility of this often-underestimated crafting material; we’re talking everything from stunning lanterns that cast a magical glow to textured art pieces that’ll leave you speechless.
Get ready to roll up your sleeves and dive into a world of colorful creativity!
This guide dives deep into the surprisingly vast world of tissue paper crafts, offering detailed instructions, helpful tips, and even a few laughs along the way. Whether you’re a seasoned crafter or a complete beginner, you’ll find projects to suit your skill level and inspire your imagination. So gather your supplies, let your creativity flow, and prepare to be amazed by what you can create with a little bit of tissue paper and a whole lot of fun!
DIY Wonders with Tissue Paper: Unleash Your Inner Artist
Tissue paper, that humble material often relegated to gift wrapping, is a surprisingly versatile crafting medium. From delicate flowers to vibrant lanterns, the possibilities are as limitless as your imagination. Prepare to be amazed by the transformative power of this inexpensive material, and get ready to dive into a world of creative fun!
Tissue Paper Flowers: A Blooming Good Time
Crafting tissue paper flowers is a delightful way to add a touch of elegance and whimsy to any occasion. Whether you’re aiming for simple blooms for a child’s craft project or intricate masterpieces for a wedding centerpiece, there’s a tissue paper flower design to suit your skill level and aesthetic.
Here are five distinct flower types, ranging in complexity:
- Simple Rose: A classic design achieved by layering and twisting crumpled tissue paper squares. Imagine a soft, pastel rose, its petals gently overlapping, exuding a delicate charm.
- Layered Daisy: This cheerful flower uses multiple layers of circular tissue paper cutouts, creating a dimensional and vibrant effect. Think sunshine yellow with a hint of orange, or a bold mix of contrasting colours.
- Frilly Tulip: Create a playful tulip by cutting elongated petal shapes and carefully pleating them before assembling. Picture a vibrant red tulip, its petals elegantly ruffled, showcasing the beauty of simple folds.
- Intricate Peony: This more complex design involves multiple layers of varying sizes and shapes, meticulously layered to create a realistic peony. Envision a rich, deep pink peony, its many petals densely packed, a symbol of opulence.
- Whimsical Carnation: Achieve a unique carnation by using fringed tissue paper strips and carefully shaping them into ruffled petals. Picture a soft lavender carnation, its delicately fringed petals creating a soft, romantic look.
| Flower Type | Number of Sheets | Time to Make (minutes) | Difficulty Level |
|---|---|---|---|
| Simple Rose | 3-5 | 5-10 | Easy |
| Layered Daisy | 5-7 | 10-15 | Medium |
| Frilly Tulip | 2-3 | 7-12 | Medium |
| Intricate Peony | 10-15 | 20-30 | Hard |
| Whimsical Carnation | 4-6 | 15-20 | Medium |
Assembling a bouquet is simple: arrange your finished flowers in a vase, perhaps adding some greenery made from crepe paper or real leaves for a touch of realism. Consider using floral wire to add structure to your flowers and prevent drooping.
Enhance your insight with the methods and methods of easy diy crafts for 3 year olds.
To achieve realistic-looking petals, gently stretch and pull the tissue paper to create subtle variations in texture and shape. Lightly curling the edges of the petals with scissors can add a touch of realism.
Tissue Paper Crafts for Kids: Fun and Mess-Free, Diy ideas with tissue paper
Tissue paper crafts are perfect for little hands. The soft texture and vibrant colors make them engaging, and the minimal mess makes them parent-friendly!
- Tissue Paper Sun Catchers: Cut out simple shapes from construction paper, then glue colorful tissue paper scraps onto them. Hang them in a sunny window to create beautiful light displays. Materials: Construction paper, tissue paper scraps, glue, scissors, string.
- Tissue Paper Collages: Provide children with various shapes cut from construction paper and let them decorate them with small pieces of tissue paper, creating colourful and textured artworks. Materials: Construction paper, tissue paper scraps, glue, scissors.
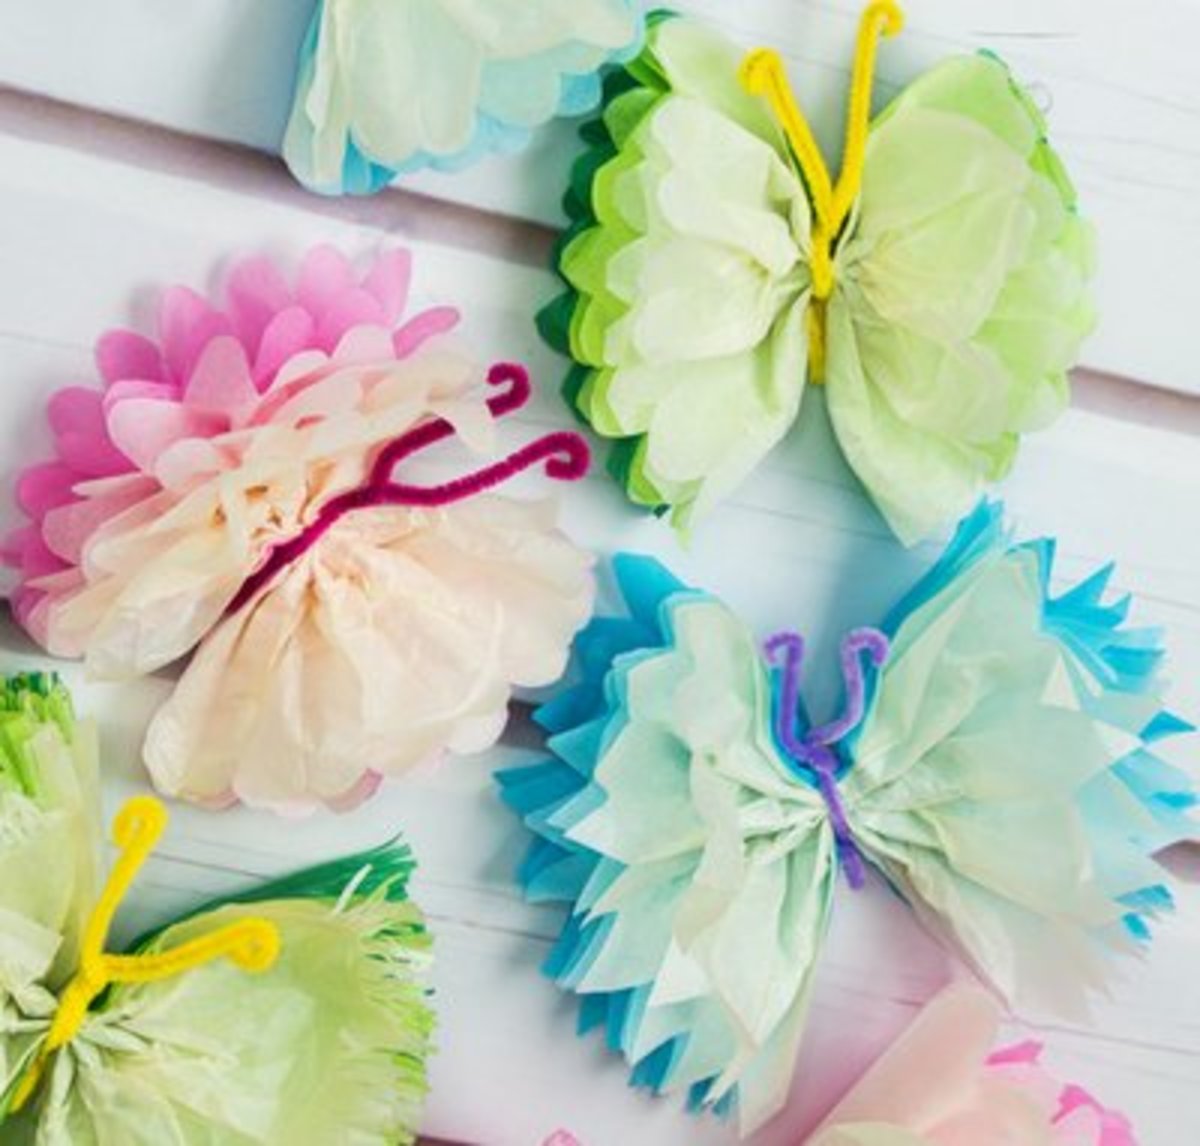
- Tissue Paper Butterflies: Fold tissue paper in half, cut out butterfly shapes, and then carefully unfold to create lightweight, delicate butterflies. Materials: Tissue paper, scissors, glue, pipe cleaners (optional).
Safety is key! Always supervise young children when they are using scissors and glue. Opt for non-toxic, child-safe materials. Ensure the workspace is clean and clutter-free to prevent accidents.
To create texture and dimension, encourage layering different colors and textures of tissue paper. Experiment with scrunching, crumpling, and tearing the tissue paper to create interesting effects.
Decorative Tissue Paper Applications: Adding a Touch of Flair
Transform ordinary gift wrapping into extraordinary presentations with these simple techniques.
- Layered Tissue Paper Wrapping: Use multiple sheets of tissue paper in varying colors and patterns, layering them to create a visually interesting effect. Secure with ribbon or twine.
- Tissue Paper Rosettes: Create simple rosettes by cutting circles of tissue paper, layering them, and securing the center with glue or a stapler. Attach to gifts or use as embellishments.
- Tissue Paper Tassels: Cut strips of tissue paper, bunch them together, and tie them off at the top to create decorative tassels. Attach to gifts or use as garland accents.
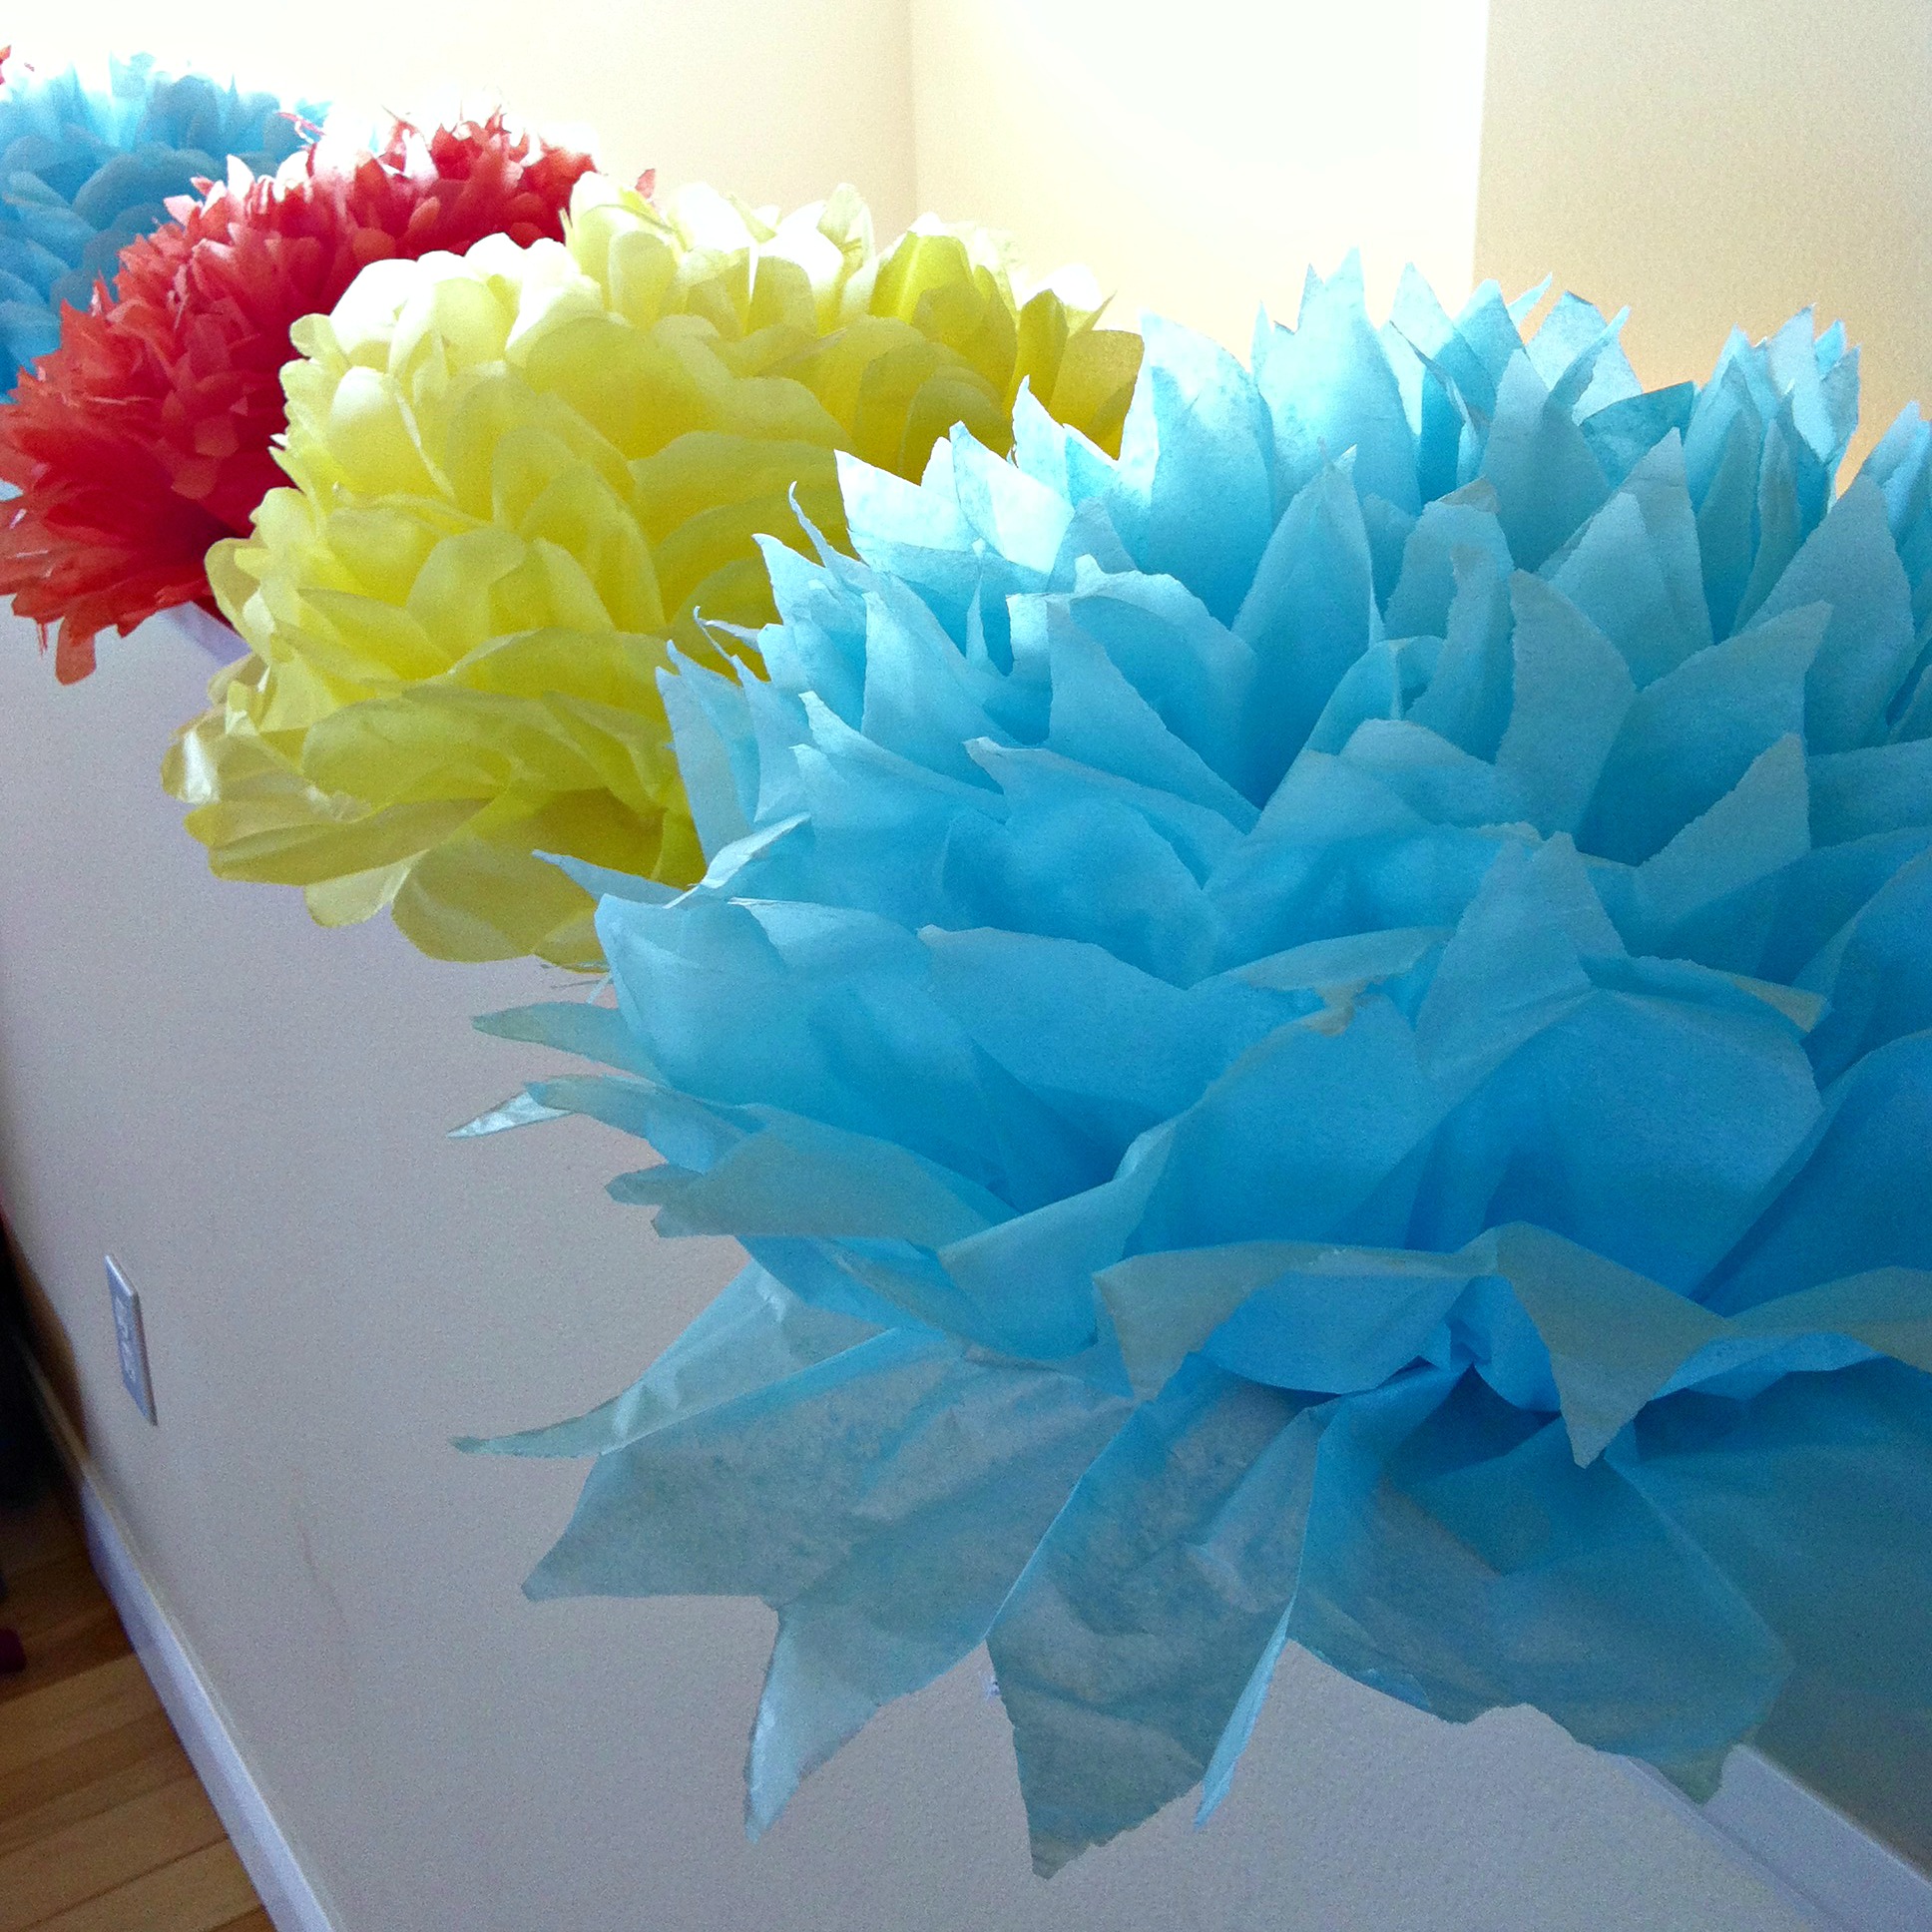
Tissue paper pom-poms are surprisingly easy to make. Cut out circles of tissue paper, fold them in half multiple times, then cut fringes around the edges. Unfold and fluff to create a fluffy pom-pom. Vary the size and color for a festive look.
A tissue paper garland is simple: Cut strips of tissue paper, fold them accordion-style, round the ends, and string them together. Layer different colors and patterns for a visually appealing effect. Imagine a vibrant garland, its colors cascading down, adding a playful touch to any space.
For a tissue paper backdrop, simply attach sheets of tissue paper to a large piece of cardboard or a wall using tape or glue. Layer different colors and textures to create a unique and eye-catching background.
Tissue Paper Lanterns and Luminaries: Illuminating Creations

Tissue paper lanterns and luminaries add a magical glow to any setting, perfect for parties or special occasions.
Creating a simple lantern involves cutting out shapes from tissue paper and gluing them onto a wire frame. More complex lanterns may involve intricate designs and multiple layers of tissue paper. Consider a delicate, floral-patterned lantern, its soft glow casting enchanting shadows.
Luminaries are made similarly, but they are designed to hold a candle or LED light safely. Ensure that any flame is contained within a heat-resistant container and never left unattended.
- Tools and Materials (Lanterns & Luminaries): Tissue paper, wire frame (for lanterns), glue, scissors, candle or LED light (for luminaries), heat-resistant container (for luminaries).
Tissue Paper Art Projects: Beyond the Expected

Explore the artistic potential of tissue paper with these unique projects.
A tissue paper collage is created by layering different colors and textures of tissue paper onto a base. Experiment with overlapping and layering to create depth and visual interest. Imagine a vibrant abstract collage, its colors swirling and blending, a testament to creative freedom.
To create a textured effect on canvas, glue crumpled or torn tissue paper onto the surface, building up layers to create a three-dimensional effect. Seal with a varnish or sealant to protect the artwork.
A tissue paper stained-glass effect is achieved by layering colored tissue paper onto a window or other transparent surface. The light shining through creates a beautiful, stained-glass effect. Picture a sun-drenched window, its vibrant colors transforming ordinary light into a kaleidoscope of beauty.
To preserve tissue paper artwork, seal it with a clear sealant or varnish to prevent fading and damage. This will help protect your creation for years to come.
So there you have it – a whirlwind tour through the wonderfully wacky world of tissue paper crafting! From delicate floral arrangements to dazzling decorative masterpieces, the possibilities are as limitless as your imagination. We hope this journey has ignited your creativity and given you the confidence to experiment, innovate, and most importantly, have a blast creating your own tissue paper wonders.
Remember, the most important ingredient isn’t just the tissue paper itself, it’s the joy and fun you bring to the process. Happy crafting!
FAQ: Diy Ideas With Tissue Paper
Can I use recycled tissue paper?
Absolutely! Recycled tissue paper works perfectly, adding an eco-friendly touch to your creations. Just be mindful that the color might be slightly less vibrant.
How do I prevent tissue paper from tearing easily?
Work gently and avoid pulling or stretching the tissue paper too much. Using a glue stick instead of liquid glue can also help prevent tearing.
What type of glue is best for tissue paper projects?
A glue stick is generally ideal for most tissue paper projects, offering good adhesion without soaking the paper and causing it to wrinkle or tear. For heavier projects, a diluted PVA glue might be necessary.
Where can I find high-quality tissue paper?
Craft stores, online retailers, and even some party supply stores offer a wide variety of colors and textures in tissue paper. Look for options labeled “crepe paper” for a more textured look.

