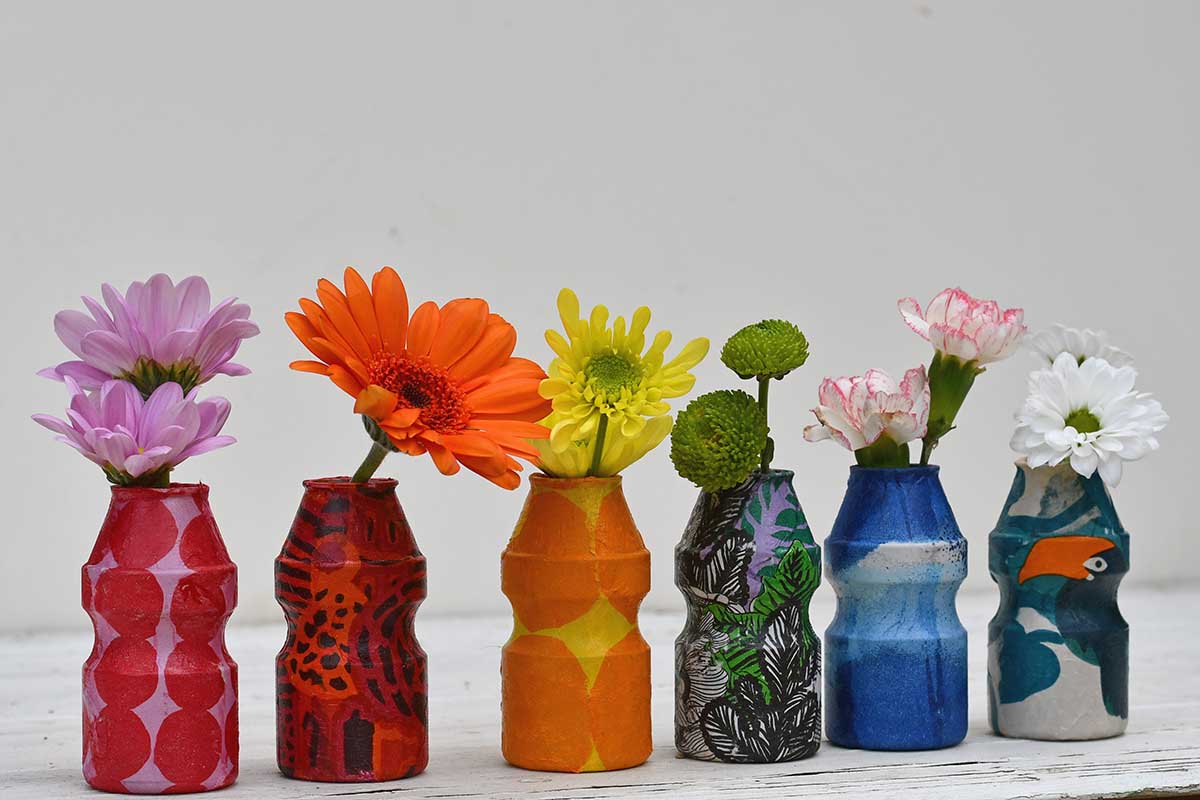
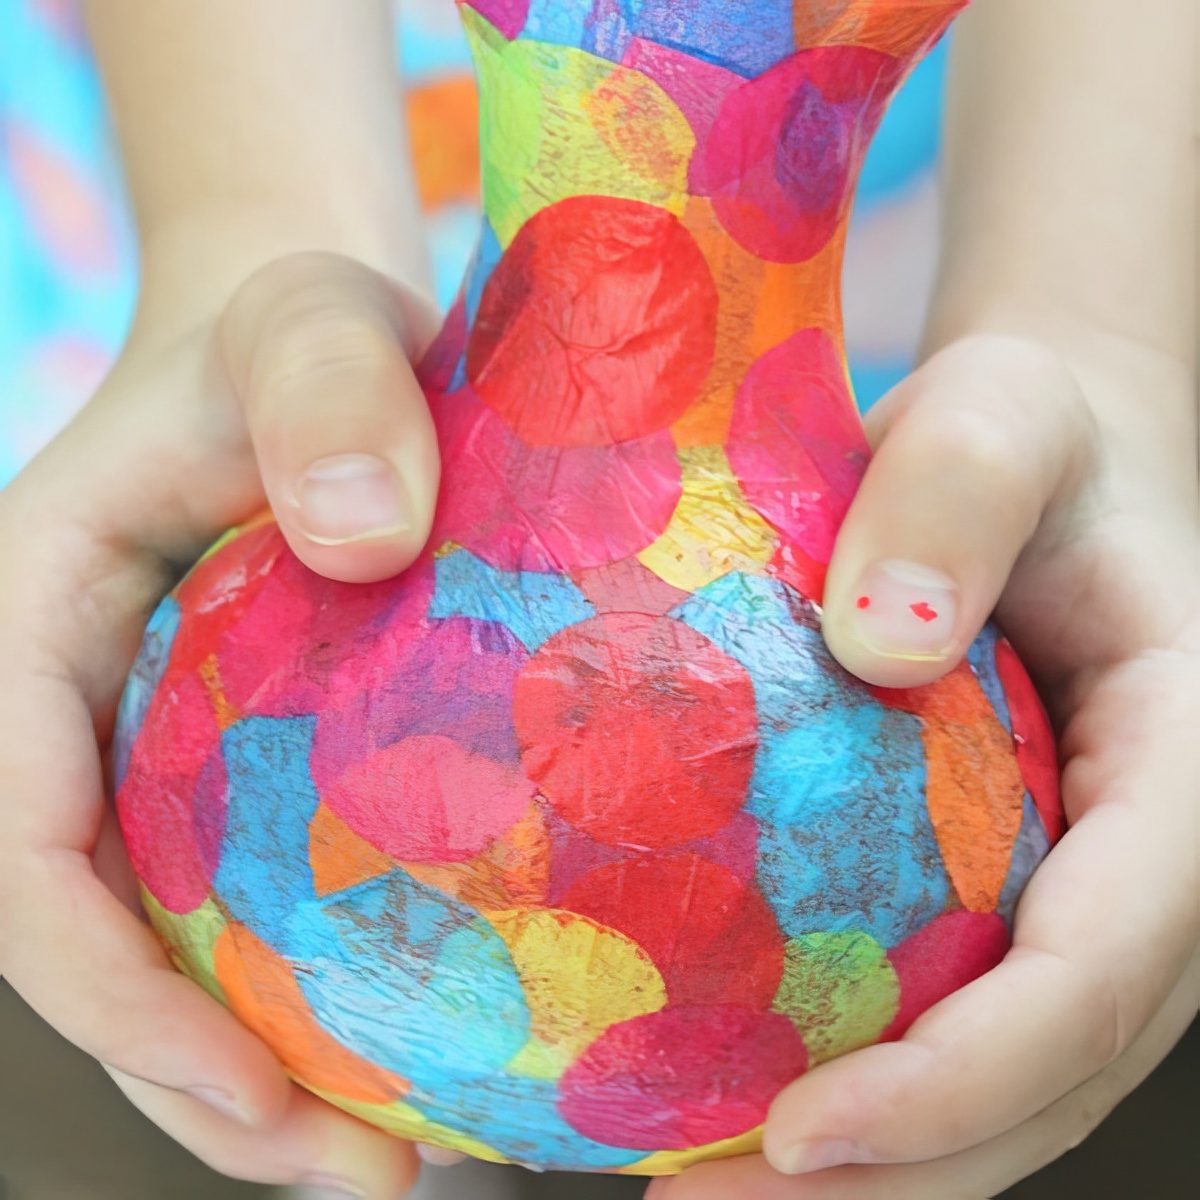
DIY Vase Ideas for Kids: Unleash your inner Picasso (or maybe just a slightly less messy version)! Forget store-bought boredom – we’re diving headfirst into a world of recycled treasures, nature’s artistry, and paint-splattered masterpieces. Get ready for giggles, glue-gun glory, and vases so unique, they’ll make your grandma jealous. This isn’t just crafting; it’s a blossoming adventure in creativity, fine motor skills, and maybe a little bit of accidental glitter everywhere.
From transforming humble plastic bottles into vibrant floral displays to weaving magic with twigs and leaves, we’ll explore a rainbow of techniques perfect for tiny hands (and slightly bigger ones too!). We’ll cover everything from simple painting methods to dazzling decorative embellishments, ensuring every budding artist finds their perfect project. So gather your supplies, embrace the mess, and let the crafting commence!
DIY Vase Ideas for Kids: Unleashing Little Artists
Crafting vases with children is more than just a fun activity; it’s a fantastic opportunity to nurture creativity, boost fine motor skills, and foster a love for art. This process allows kids to express themselves, experiment with different materials and techniques, and create unique, personalized pieces. This guide will explore various DIY vase projects using recycled materials, natural elements, and exciting painting techniques, culminating in beautifully decorated vases that are sure to impress.
Recycled Materials Vases: Giving Trash a New Lease on Life

Transforming everyday trash into stunning vases is both eco-friendly and incredibly creative. Here are five fantastic ideas to get you started:
- Plastic Bottle Vase: Cut the top off a clean plastic bottle, decorate it with paint, glitter, or stickers, and voila! An instant vase. Remember to smooth out any sharp edges.
- Cardboard Tube Vase: Decorate a sturdy cardboard tube (like from paper towels or wrapping paper) with paint, fabric scraps, or yarn. Add a waterproof liner inside if needed.
- Tin Can Vase: Thoroughly clean and dry a metal can. Decorate it with paint, decoupage, or even embossed designs. Ensure all sharp edges are smoothed or covered.
- Milk Carton Vase: Clean and dry a milk carton. Cut and shape it into a vase form, reinforcing it with tape or glue. Decorate with paint, markers, or collage materials.
- Egg Carton Vase: Separate individual cups from an egg carton and carefully glue them together to create a unique, cluster-like vase. Paint and decorate as desired.
| Material | Difficulty | Estimated Time |
|---|---|---|
| Plastic Bottle | Easy | 15-20 minutes |
| Cardboard Tube | Easy | 20-30 minutes |
| Tin Can | Medium | 30-45 minutes |
| Milk Carton | Medium | 30-45 minutes |
| Egg Carton | Hard | 45-60 minutes |
Nature-Inspired Vases: Embracing the Beauty of the Outdoors

Bring the beauty of nature indoors by crafting vases from natural materials. These projects encourage exploration and appreciation for the environment.
- Pinecone Vase: Glue pinecones together to create a unique vase shape. Ensure the base is stable. You might need to add a waterproof liner inside.
- Leaf Vase: Press and dry various leaves. Arrange them artfully and glue them onto a sturdy base (cardboard or a small jar) to create a textured vase. A clear sealant will help preserve the leaves.
- Twig Vase: Weave twigs together to form a cylindrical shape. Secure the structure with glue or twine. Again, a waterproof liner might be necessary.
- Pinecone Vase: Pinecones, glue, waterproof liner (optional)
- Leaf Vase: Assorted leaves, pressing materials, glue, sturdy base (cardboard or jar), clear sealant
- Twig Vase: Twigs, glue or twine, waterproof liner (optional)
Painting and Decorating Techniques: Adding a Splash of Color, Diy vase ideas for kids
Let your creativity flow with these kid-friendly painting techniques:
- Finger Painting: A classic! Use non-toxic finger paints and let kids explore different textures and colors directly with their fingers.
- Sponge Painting: Cut sponges into different shapes to create interesting patterns and textures. This technique is great for creating unique effects.
- Stenciling: Use stencils to create repeating designs. This method helps develop fine motor skills and introduces design concepts.
- Finger Painting: Pros: Simple, fun, tactile; Cons: Can be messy, requires careful cleanup.
- Sponge Painting: Pros: Creates interesting textures, easy to control; Cons: Requires sponge preparation, potential for uneven application.
- Stenciling: Pros: Creates precise designs, good for repeating patterns; Cons: Requires careful alignment, might be challenging for very young children.
Adding Decorative Elements: The Finishing Touches
Enhance your vases with these decorative elements:
- Ribbons: Tie ribbons around the neck of the vase for a touch of elegance.
- Glitter: Add sparkle with glitter glue or by sprinkling glitter onto wet paint.
- Beads: Glue beads onto the vase for added texture and visual interest.
- Stickers: Use stickers to create fun and whimsical designs.
- Yarn: Wrap yarn around the vase for a textured and colorful effect.
Safety Considerations and Adult Supervision: Prioritizing Safety
Adult supervision is crucial during the entire crafting process. Sharp objects like scissors should be handled with care, and paints and glues should be kept away from eyes and mouths. Always ensure proper ventilation when using paints.
- Use child-safe scissors and glue.
- Supervise children closely when using sharp objects or paints.
- Ensure proper ventilation when using paints and other materials with strong odors.
- Wash hands thoroughly after handling materials.
Displaying the Finished Vases: Showcasing Little Masterpieces
Showcase your children’s creations proudly! Here are some display ideas:
- Create a dedicated shelf or corner to display the vases.
- Arrange the vases on a windowsill to let the light shine through.
- Use the vases as centerpieces for a special occasion.
- Group the vases together to create a vibrant and colorful display.
Illustrative Examples: Bringing the Designs to Life
Vase 1: The Rainbow Recycled Bottle: A clear plastic bottle, cut and smoothed, is decorated with vibrant stripes of finger paint in every color of the rainbow. The paint is slightly textured, giving a slightly bumpy feel. The overall aesthetic is playful and cheerful.
Vase 2: The Nature’s Embrace Pinecone Vase: A collection of small, tightly packed pinecones are glued together to form a rustic, slightly uneven vase. The natural brown and tan tones of the pinecones are complemented by a simple, natural twine wrapping around the base. The aesthetic is earthy and organic.
Vase 3: The Glittery Galaxy Tin Can: A cleaned tin can is painted a deep navy blue. While still wet, silver and white glitter is sprinkled on to create a sparkling galaxy effect. Small, iridescent stickers are added to represent distant stars. The overall aesthetic is magical and celestial.
So there you have it – a whirlwind tour of DIY vase crafting for kids! We’ve journeyed from repurposed materials to nature’s bounty, mastering painting techniques and adding those finishing touches that transform ordinary into extraordinary. Remember, the most important ingredient isn’t perfection, but the joy of creation. So grab those little hands, unleash their imaginations, and watch as ordinary vases bloom into unique expressions of childhood creativity.
And don’t forget to take lots of (slightly blurry) photos – these memories are as precious as the vases themselves!
You also will receive the benefits of visiting diy christmas decorations using pvc pipe today.
FAQs
What kind of glue is best for kids’ vase projects?
A non-toxic, washable glue stick is ideal for younger children. For older kids, consider a low-toxicity, water-based craft glue.
How can I make the vases waterproof?
For extra durability and water resistance, consider sealing the finished vase with a clear sealant specifically designed for crafts. Always follow the manufacturer’s instructions.
What if my child’s vase breaks?
It’s crafting, accidents happen! Focus on the creative process, not perfection. Use this as a learning opportunity to discuss safety and handling fragile items.
My child is too young for scissors. What alternatives are there?
Pre-cut shapes, hole punches, or adult assistance with cutting are all great alternatives.

